
Use this guide when your display is powered on but shows a black screen right after connecting a laptop or device via cable.
Quick Check
-
No visible kinks in the cable; try a second known‑good cable.
-
The correct input / source was chosen on the display; try alternate display port and alternate device port.
-
The USB-C cable has video support and is under 1.5 meters long
-
The laptop’s USB-C port supports video.
Use the right cable
Video will only transmit if the cable and port you are using on your laptop allows it. The most common video ports and cable are HDMI and USB-C. Make sure you are using these ports and cables when testing this. Don’t plug a cable into a port that does not perfectly match it’s shape.
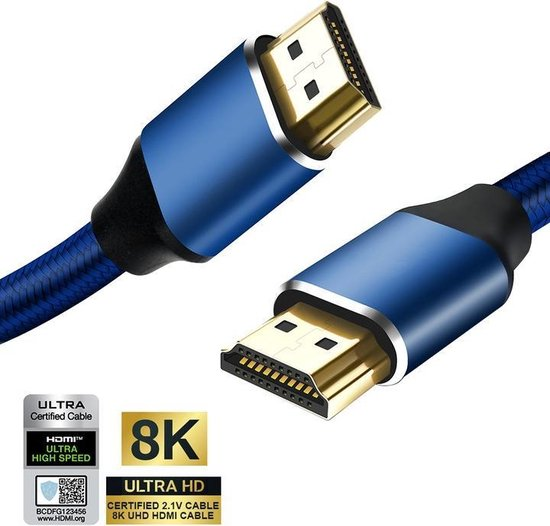
HDMI cables
HDMI cables can be very long without any quality issues. Look for HDMI 2.1 cables.
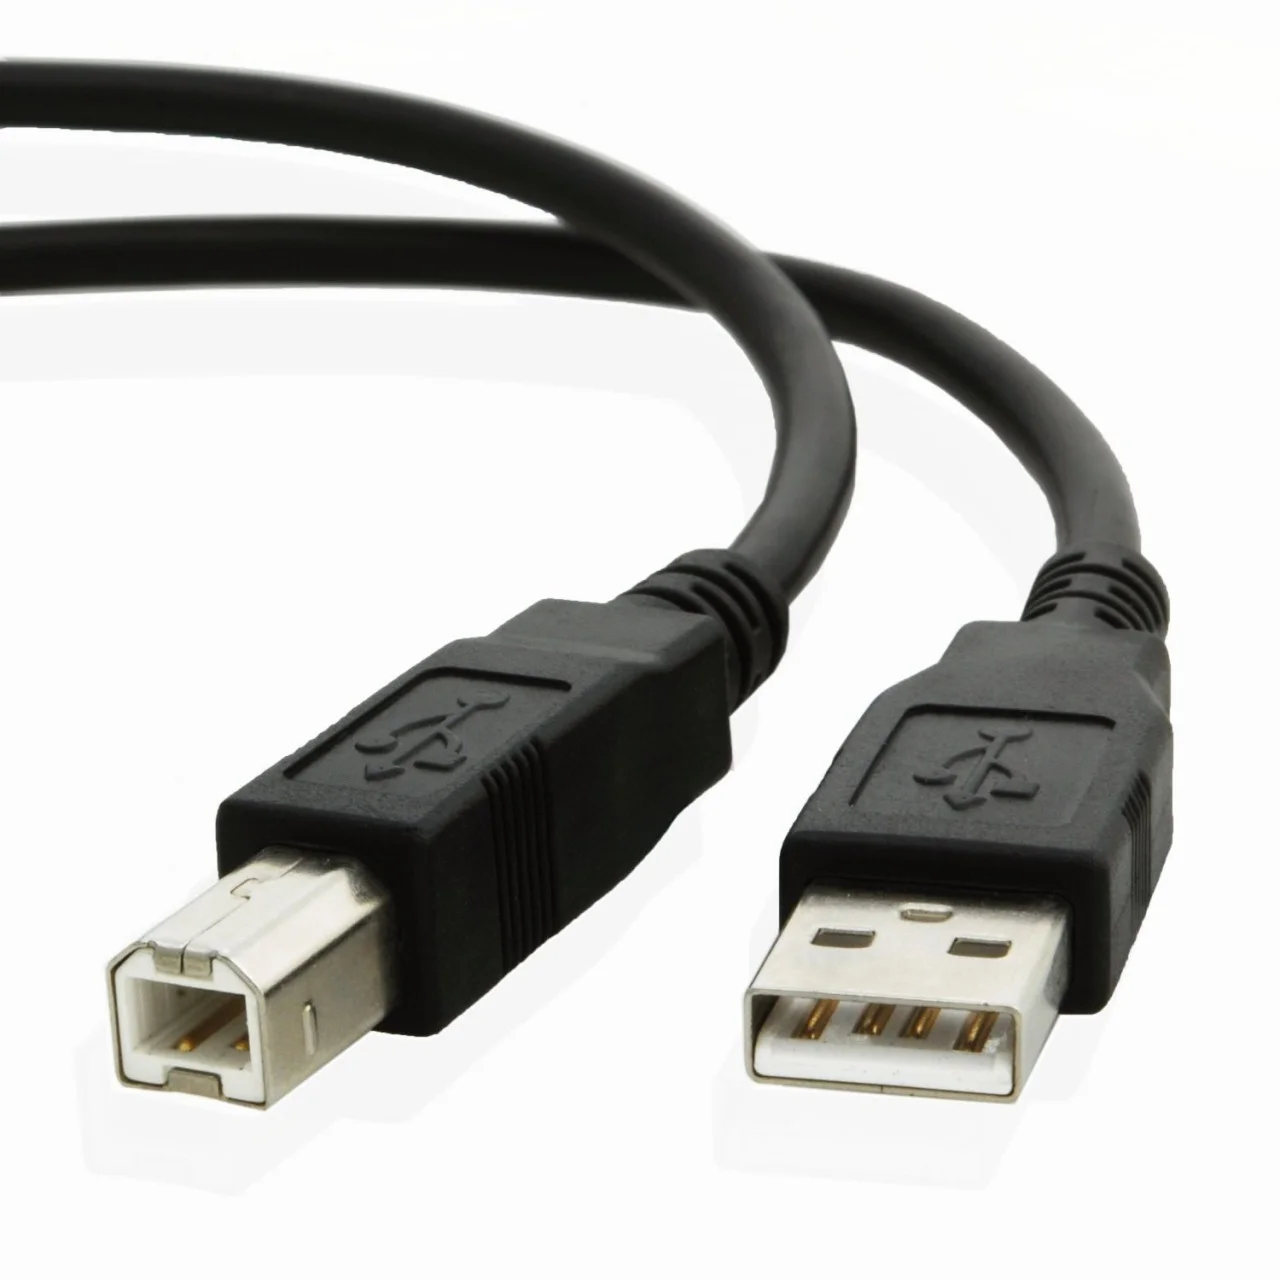
HDMI does not transmit touch control so you will need an extra USB cable connected to the correct TOUCH OUT port on the display. These are often called printer cables.
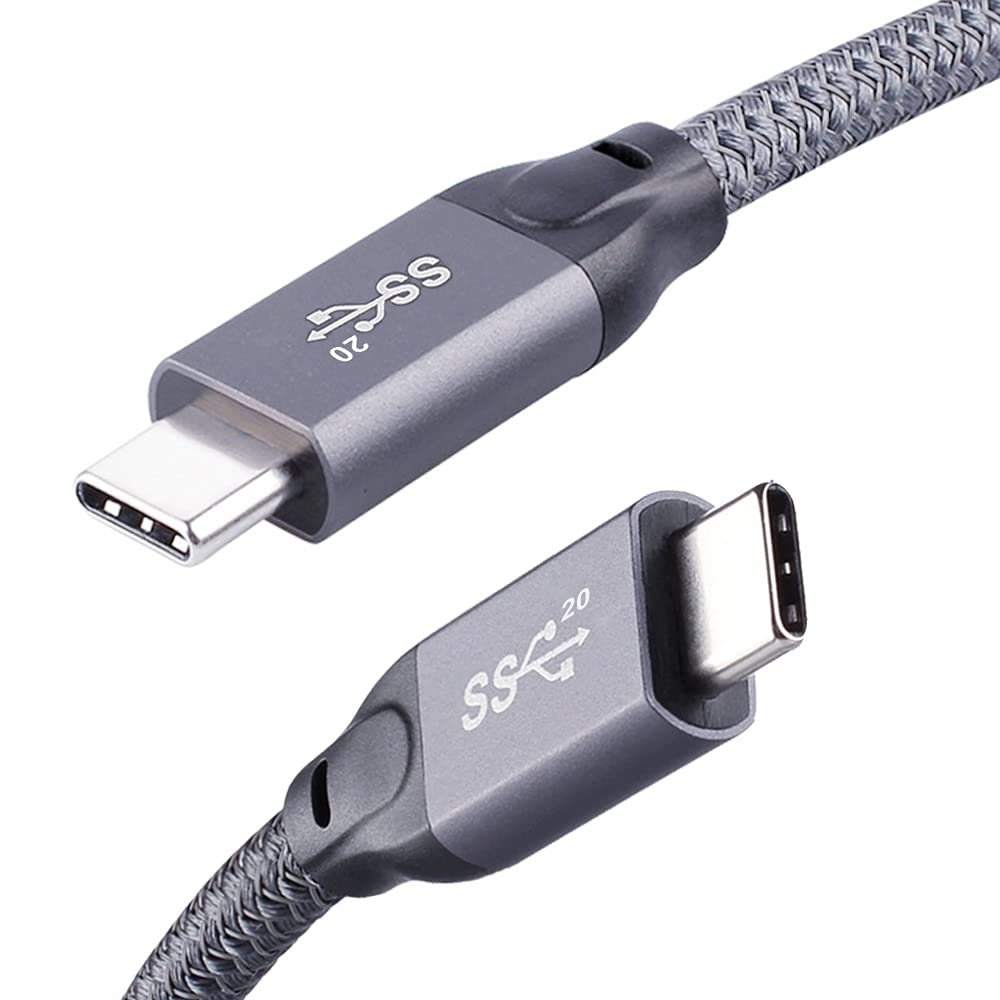
USB-C (or Type-C) cables
USB-C or USB Type-C cables meant for video require DisplayPort (DP) Alt Mode. You can spot this in the product’s description and sometimes from this SS logo for Super Speed.
-
Choose a cable length under 1.5 metres to minimise signal loss.
-
Avoid charge‑only/data‑only cables.
i3CONNECT display’s can power your laptop when connected by USB-C.
Identify where the problem is
If it is not fixed by the above topic, please walk through these steps to find the origin of the problem.
-
Prepare known-good tools:
Connect a different laptop with a different cable (ideally new) to a different display.-
Result: Only if you see video transmitted to the known-good display, do you continue to the next step. If this fails, try another laptop, cable and display until you find a combo that works.
-
-
Test the original laptop:
Connect your original laptop to the known-good display using the known-good cable and port.-
Result: Only if you see video transmitted to the known-good display, do you continue to the next step. If this fails, then your original laptop is the issue. Jump to laptop settings to try.
-
-
Test the original display:
Connect the known-good laptop and cable into your original display using a different port of the same type e.g. HDMI IN 2 instead of HDMI IN 1. Then try it in the original port.-
Result: Only if you see video transmitted to the original display in both ports, do you continue to the next step. If this fails, then the original display is the issue. To fix this, jump ahead to the Display settings to try chapter below.
-
-
Rule out the cable:
Use the known-good cable to connect the original laptop into the original display using the original port.-
Result: Only if you see video transmitted to the original display, do you continue to the next step. If this fails, then the original cable is the issue. Simply replace it with one that works.
-
-
If you made it this far everything should work. If it still is causing issues, please make a Hardware support ticket here so that our service team can help you further.
Laptop settings to try (most common fixes)
-
Set Duplicate / Mirror when you have connected your laptop:
-
Windows: Press Win + P and select Duplicate.
-
macOS (Apple): Open System Settings > Displays and detect displays; uncheck Mirror.
-
-
Update your graphics drivers: Update GPU drivers (Windows) or perform a safe reboot (macOS) and retest if it works now.
-
Check your USB‑C port: Not all USB‑C ports on your laptop are able to output video. Consult the device’s specs and look for “DisplayPort (DP) Alt-Mode” or “USB-C for Monitor”.
Is it still not working? Please make a Hardware support ticket so that our service team can help you further. Take plenty of photos and share what you have already tried. Also include the details of your device/laptop and the type of cable you used.
Display settings to try (most common fixes)
Inputs and Sources are technical terms for the video image of one of the connected displays. a HDMI 1 input port will be connected to a HDMI 1 video source (unless it was renamed).
-
Input selection: Open the display’s Quick Menu or Source list and manually choose the exact port you used (e.g., HDMI 2 or USB‑C 1).
-
Auto‑switching: If disabled, the display won’t jump to your connected display automatically. Enable auto‑switch (if desired) or keep selecting inputs manually.
-
Try EDID 1.4: Lowering this setting works sometimes for older devices. You can find it in the HDMI settings of the display.
-
Renamed inputs: Your IT team may have renamed sources. If you don’t see HDMI 1/2/3, look for custom labels in the source list and try them.
-
Sleep/backlight: Ensure the panel backlight isn’t in a blacked‑out or frozen state. Wake the display by tapping with all 5 fingers, or pressing and holding with 2 fingers. lso try using the front button or remote to re‑select the input.
Is it still not working? Please make a Hardware support ticket so that our service team can help you further. Take plenty of photos and share what you have already tried. Also include the details of your device/laptop and the type of cable you used.