
Backup your files first!
Formatting will erase all data from your drive. Back up all files from your USB-Drive before proceeding. The instructions below are at your own risk. Selecting the wrong disk can erase all of your PC's data!
Most USB drives have a MBR partition style and will work fine on our CTOUCH screens. In case your USB drive has GPT (GUID Partition Table) please follow the steps below to set it to MBR
Instructions
-
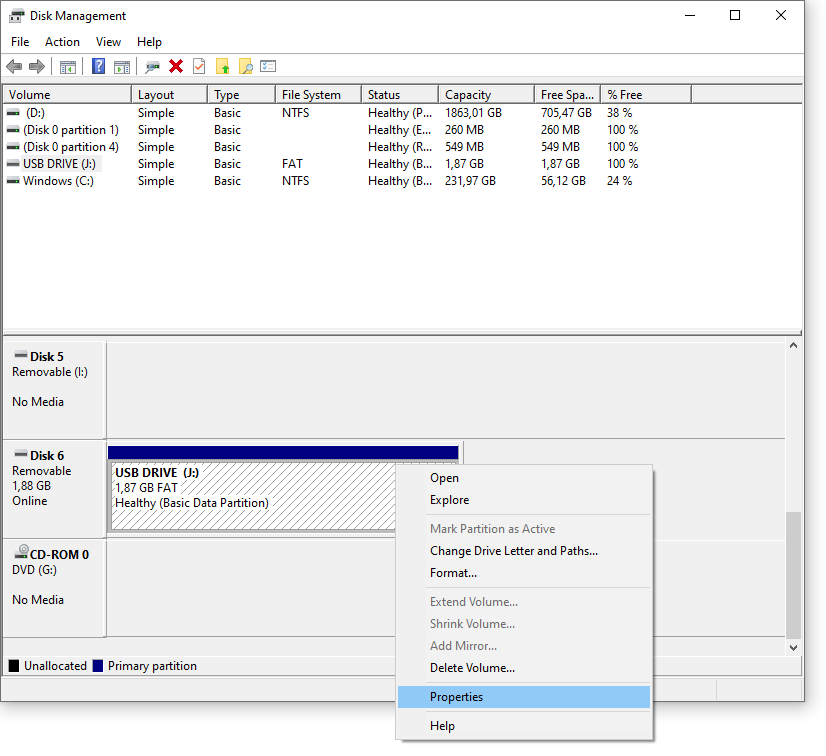
Open Disk Management on your Windows PC
-
Check if your USB-Drive is GPT by right clicking the desired disk (6 in our case) and choose properties
-
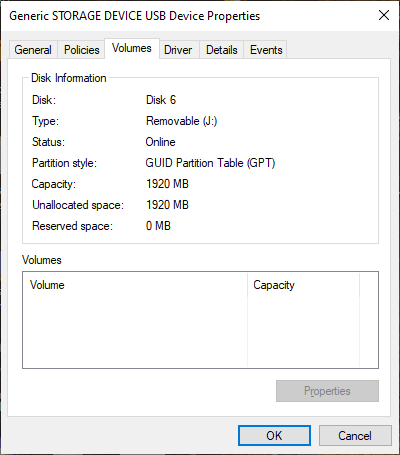
Here you you can find the partition style from the Volumes tab. Since our USB drive has a GPT partition style (see in image), we can close the Disk Management window and proceed to the next step to convert it to MBR.
-
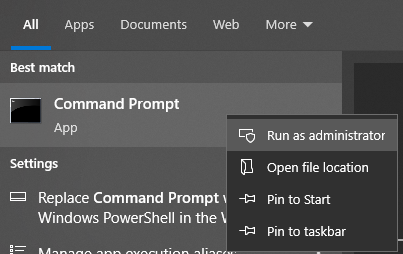
Use Windows search to find Command Prompt and right click on the result and select Run as administrator
-
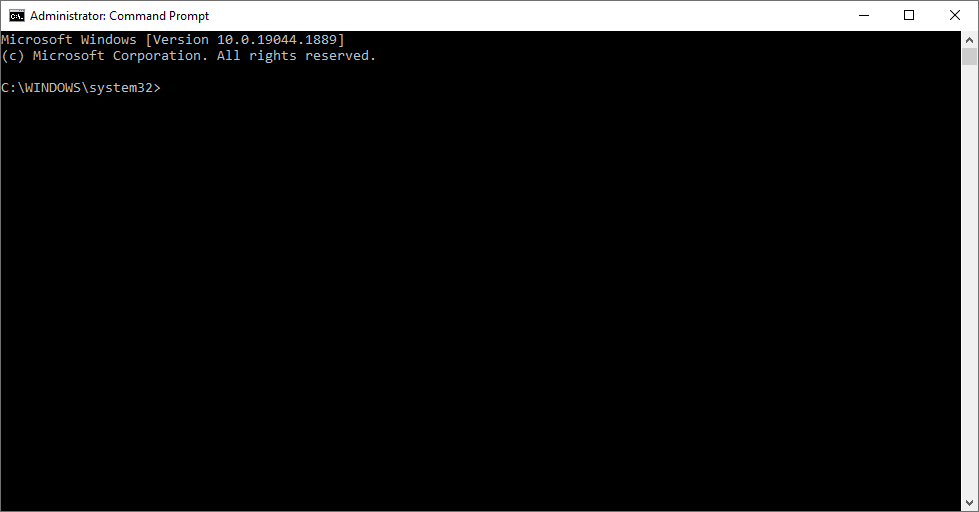
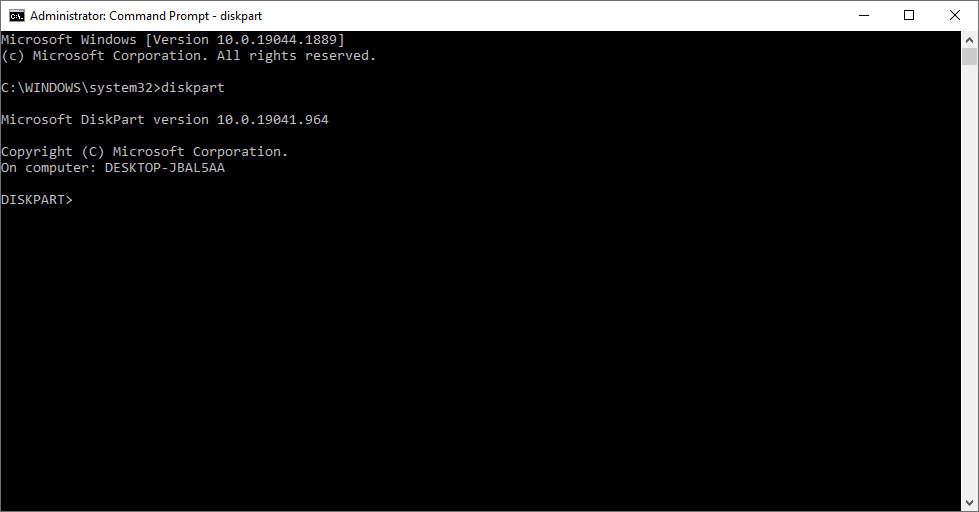
A Command Prompt window will pop up:
-
Now type diskpart and press enter
diskpart
-
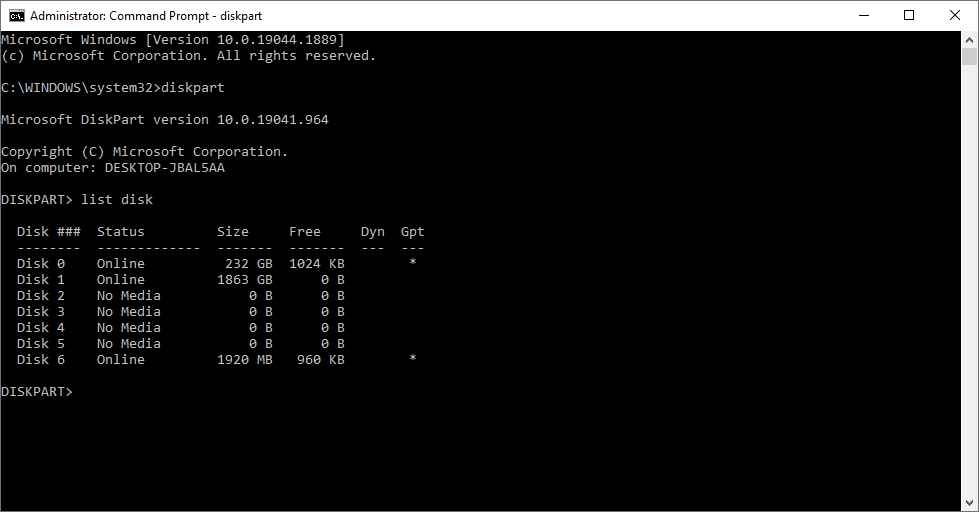
Type list disk and press enter to see all available disks (only drives marked with * are GPT)
list disk
-
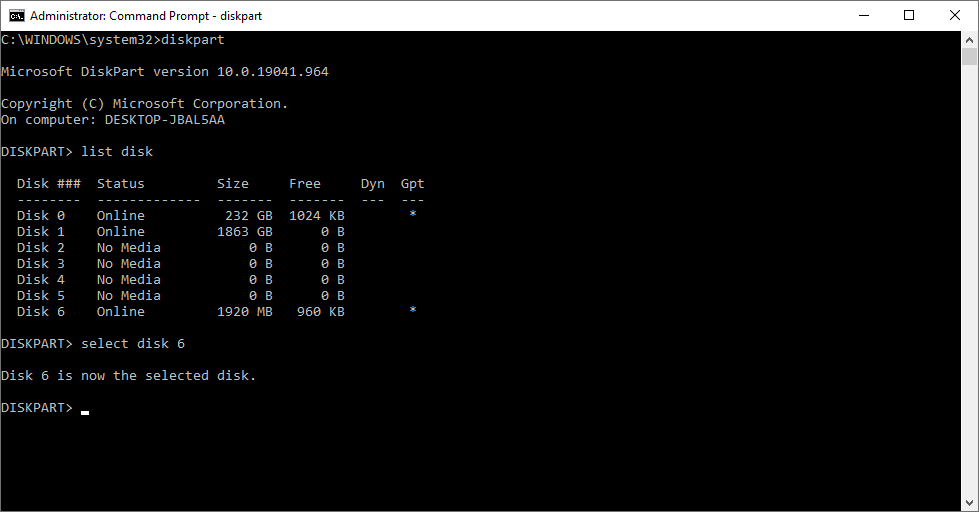
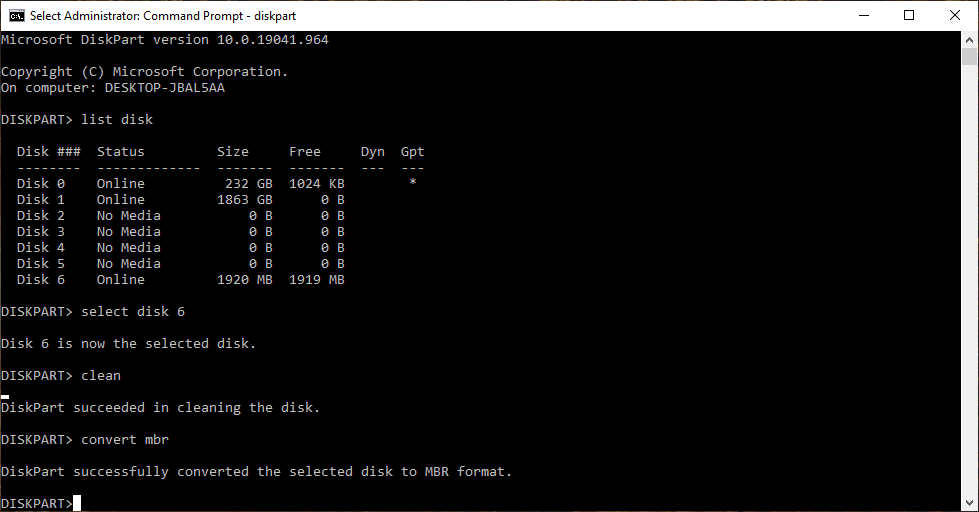
Type select disk followed by the correct number for your disk and press Enter on your keyboard to select it. In our example it is disk 6 so we type:
select disk 6
-
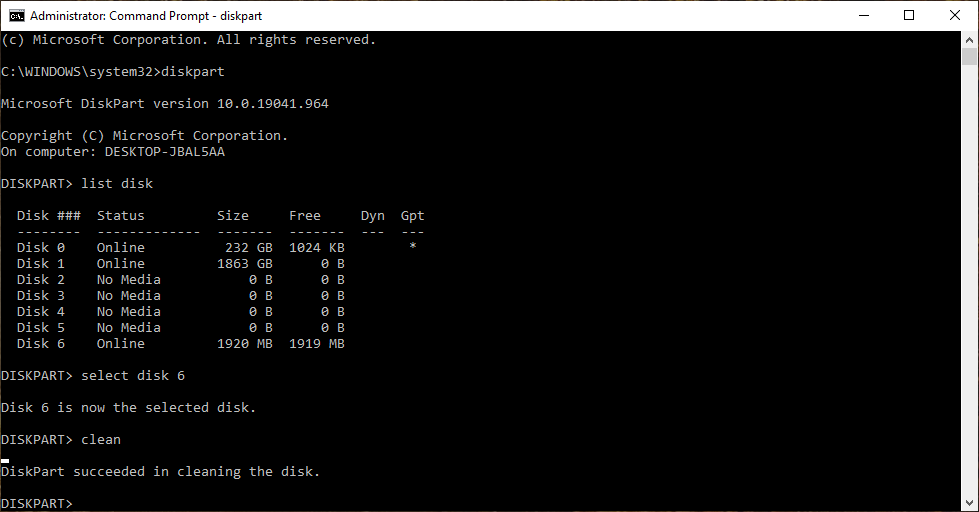
In this step, only press Enter if you are 100% sure the correct disk is selected. Type clean and press Enter
clean
-
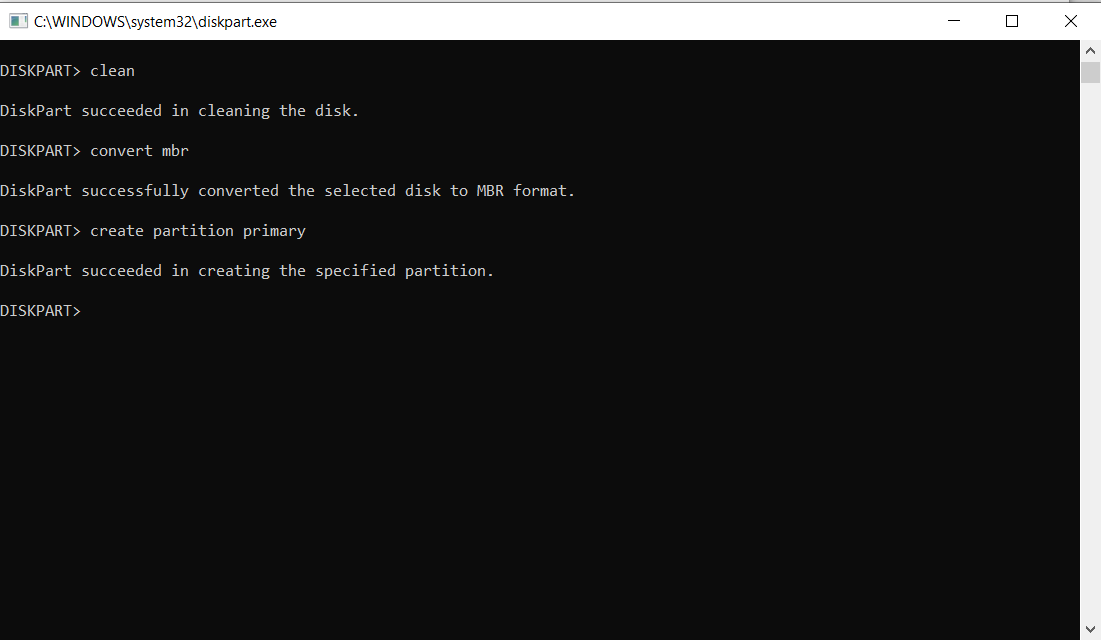
Now type convert mbr and press enter to go from GPT to MBR
convert mbr
-
In case you want to proceed with formatting the USB drive please type the following command:
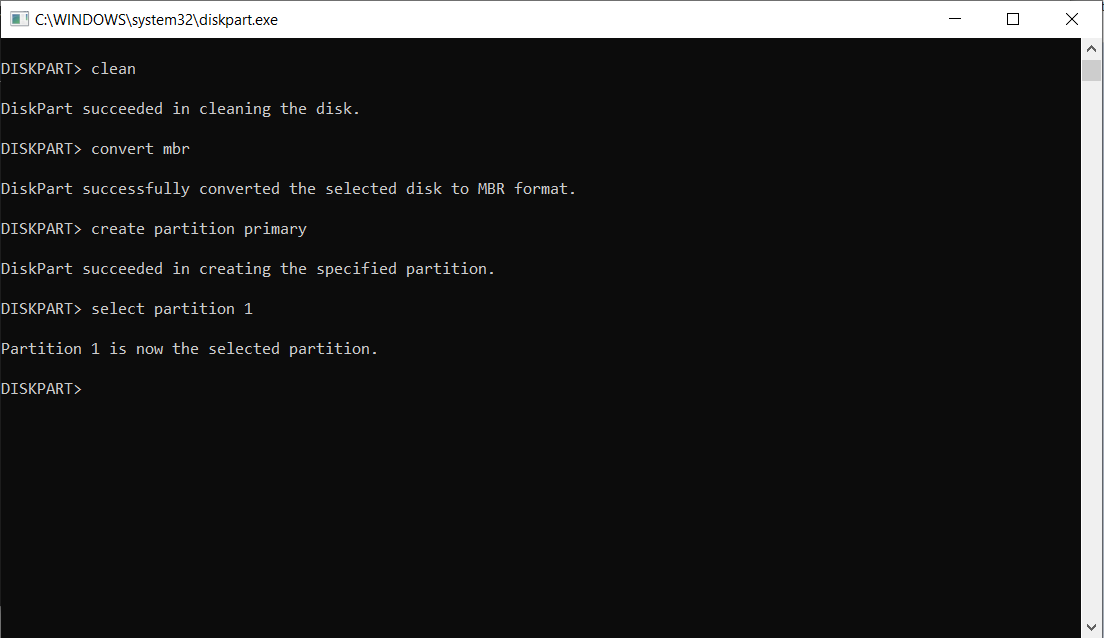
create partition primarycreate partition primary
-
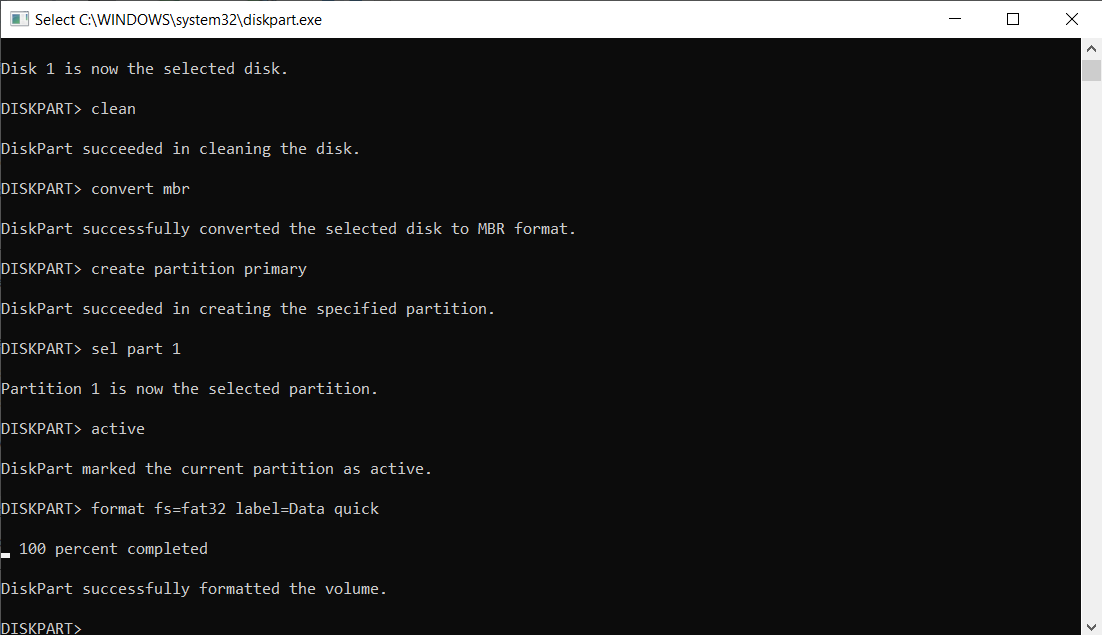
Type select partition 1 to select the newly created partition
select partition 1
-
Type active to mark the current partition as active
active

-
Please type the following command to format the USB drive as Fat32 and give it the name Data.
format fs=fat32 label=Data quick
-
Now you are set and you can close the Command Prompt