
Mac devices (MacBook Air, MacBook Pro, iMac, Mac Mini) don't have touch screen support integrated in the operating system by default. Enabling touch functionality requires the installation of a specific driver and application. Before proceeding with the installation, make sure that requirements below are met:
Requirements to start
-
HDMI / (USB C alt mode) Display Port Cable is required to transmit the video signal from Mac device to your i3CONNECT display
-
If you are using HDMI, you also are required to connect a USB A to USB-B cable to the i3CONNECT display to send the touch signal from i3CONNECT display to your Mac device.
-
-
Mac device (MacBook Air, MacBook Pro, iMac, Mac Mini and M1 types) with the following macOS versions: Mojave, Catalina, Big Sur, Monterey,Ventura, Sonoma, Sequoia, Tahoe.
-
Administrator account on the Mac OS device.
-
Download the latest version of i3CONNECT driver for MacOS version (UPDD_07_01_187) for MacOS 10.xx and up): https://wetransfer.com/downloads/7a57a4c2e0dc1f02759450c9ed69408a20260507093636/7d8f95?t_exp=1780738596&t_lsid=7bac8985-b9aa-42b3-8c33-862c2242113e&t_network=link&t_rid=YXV0aDB8VHJhbnNmZXJ8b2tsM3lqMGlzNWs=&t_s=download_link&t_ts=1778146596
IMPORTANT: Requires MacOS Mojave 10.14 or up! In case you can't update your current OS due to hardware limitations please contact us: https://support.i3-connect.com/
Using this manual
This document contains two sections, and it is advisable to follow them up them in consecutive order.
Section 1: Installation of the driver and application
As mentioned in the requirements, the installation of driver and application requires an admin account due to multiple layers of security and features that need to be enabled. If you are not sure what type is your account you can check in System Preferences > Users & Groups. Under the account which will be used for installation, you should see "admin". If you don't have such an account, please contact your system administrator.
Do not connect the USB and HDMI cables between Mac Device and i3CONNECT display. This step will be done in section 2.
Video
Instructions
-
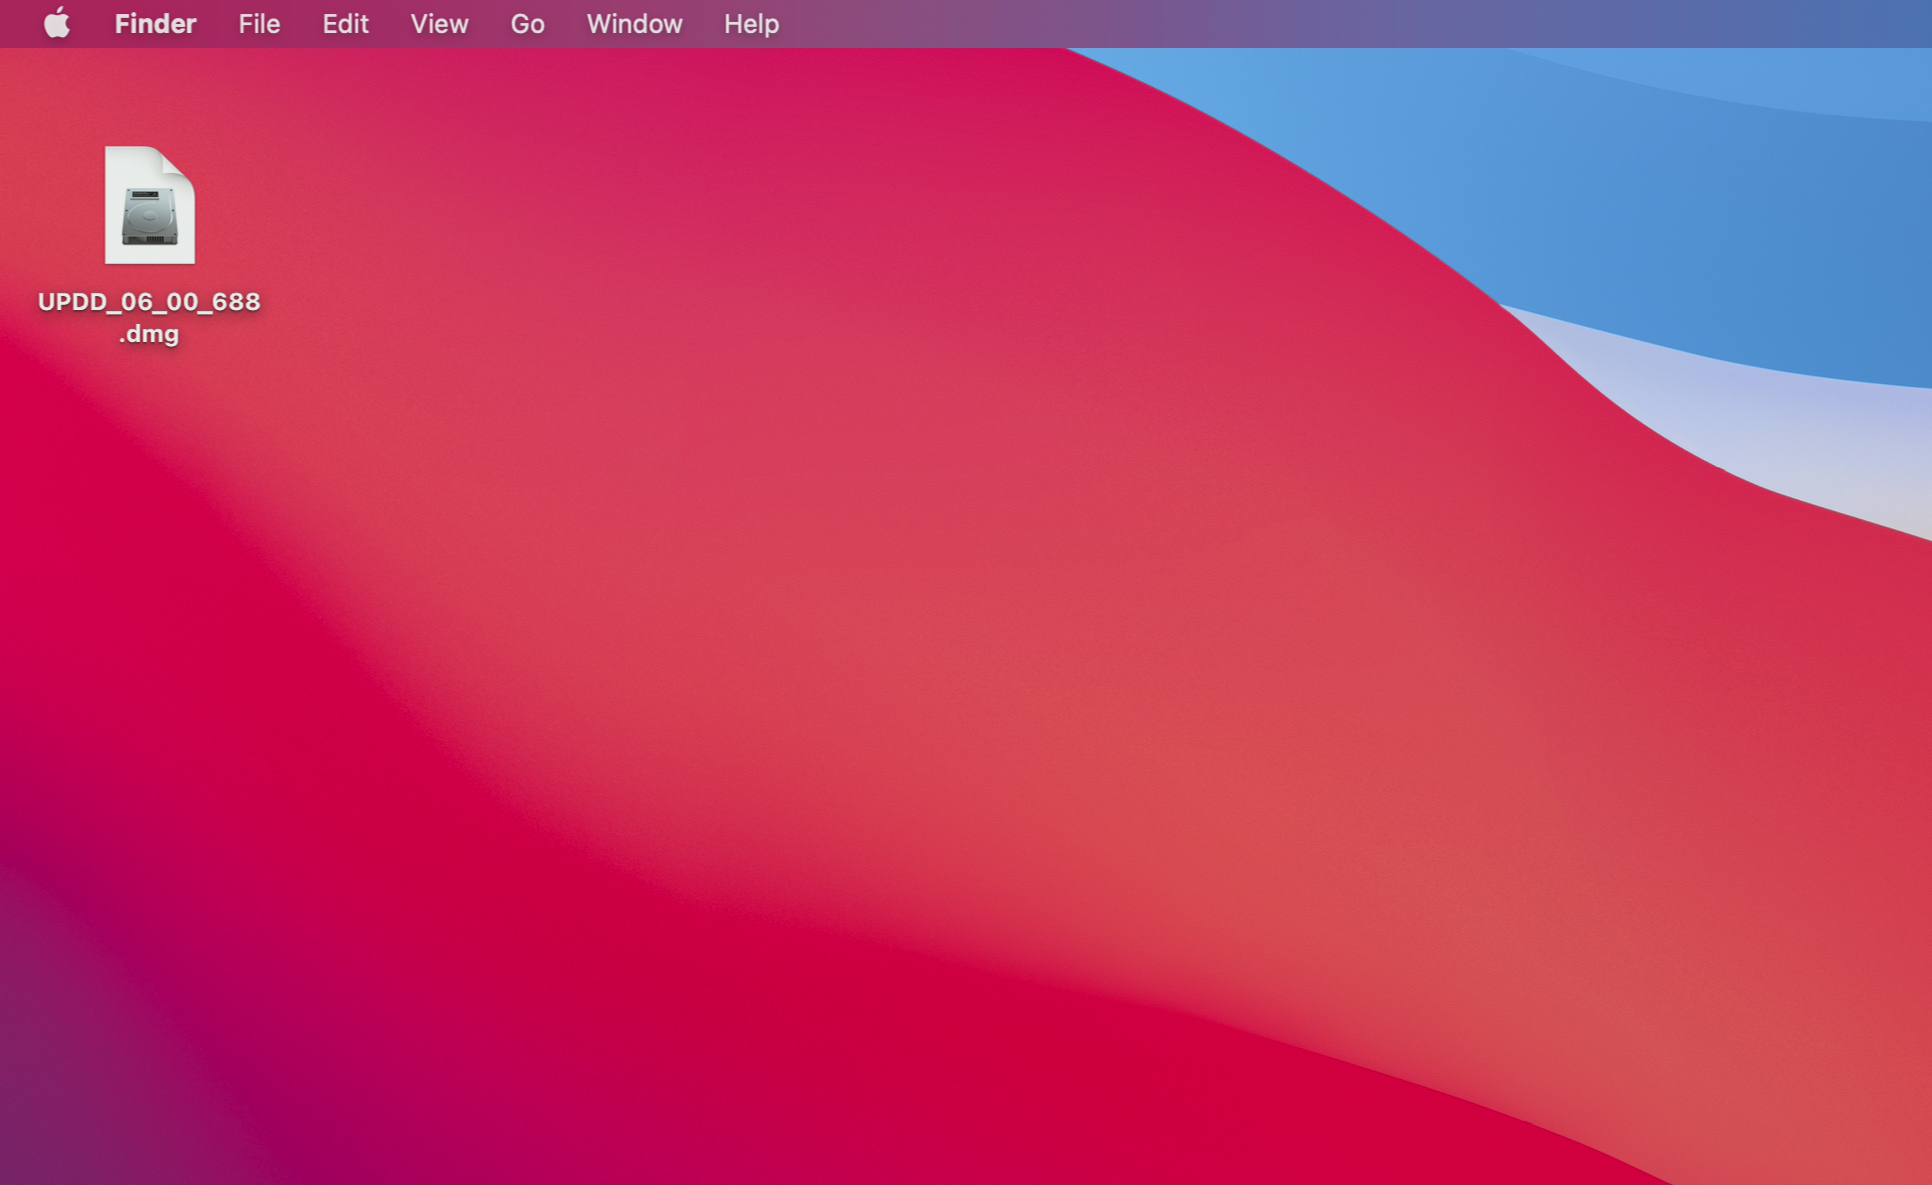
Go to location were you have downloaded the i3CONNECT driver UPDD_xx_xx_xxx.dmg. In this case the driver is located on the desktop, but the file name and location might be different.
-
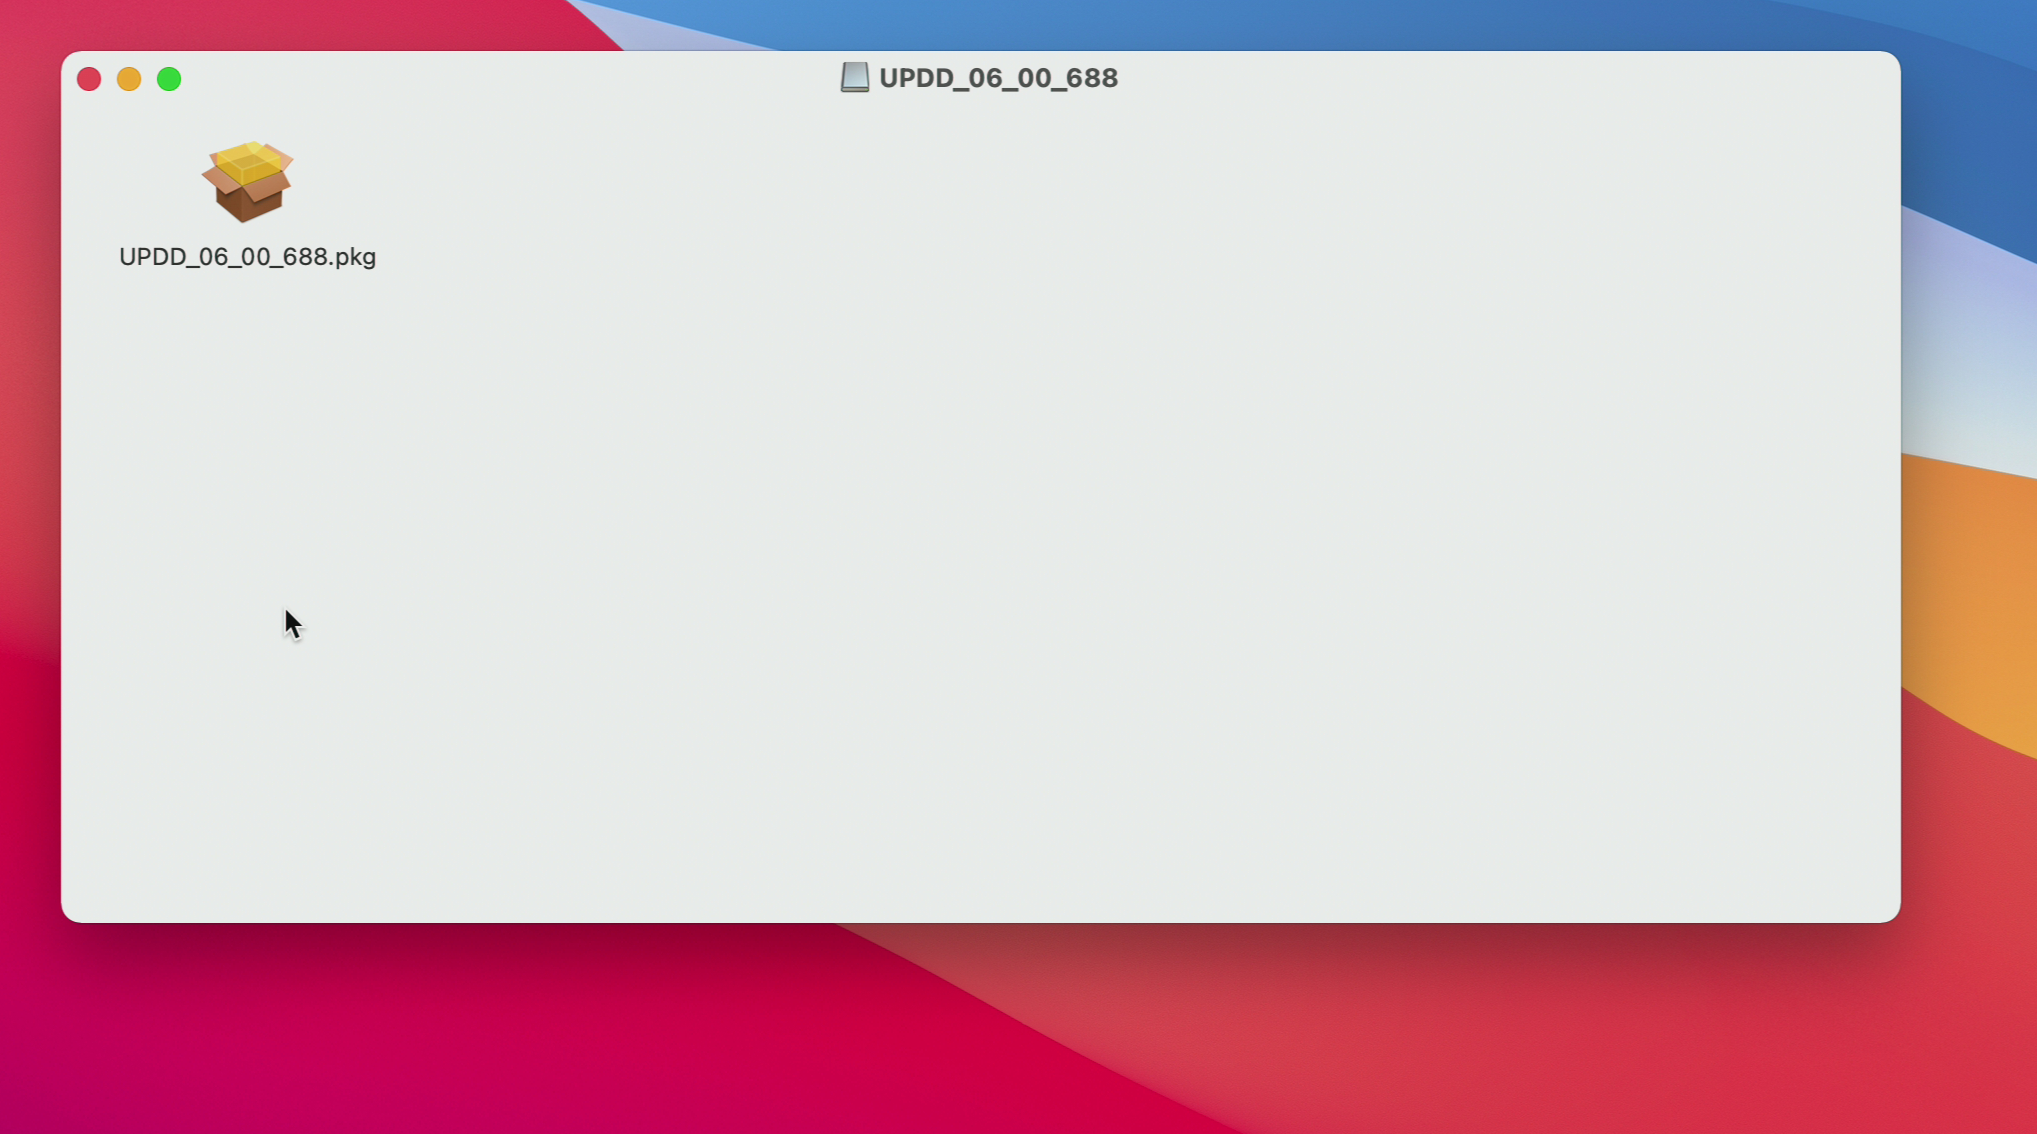
Double click on the driver UPDD_xx_xx_xxx.dmg. MacOS will mount the driver as USB folder and open a new window were you can see the installation package UPDD_xx_xx_xxx.pkg.
-
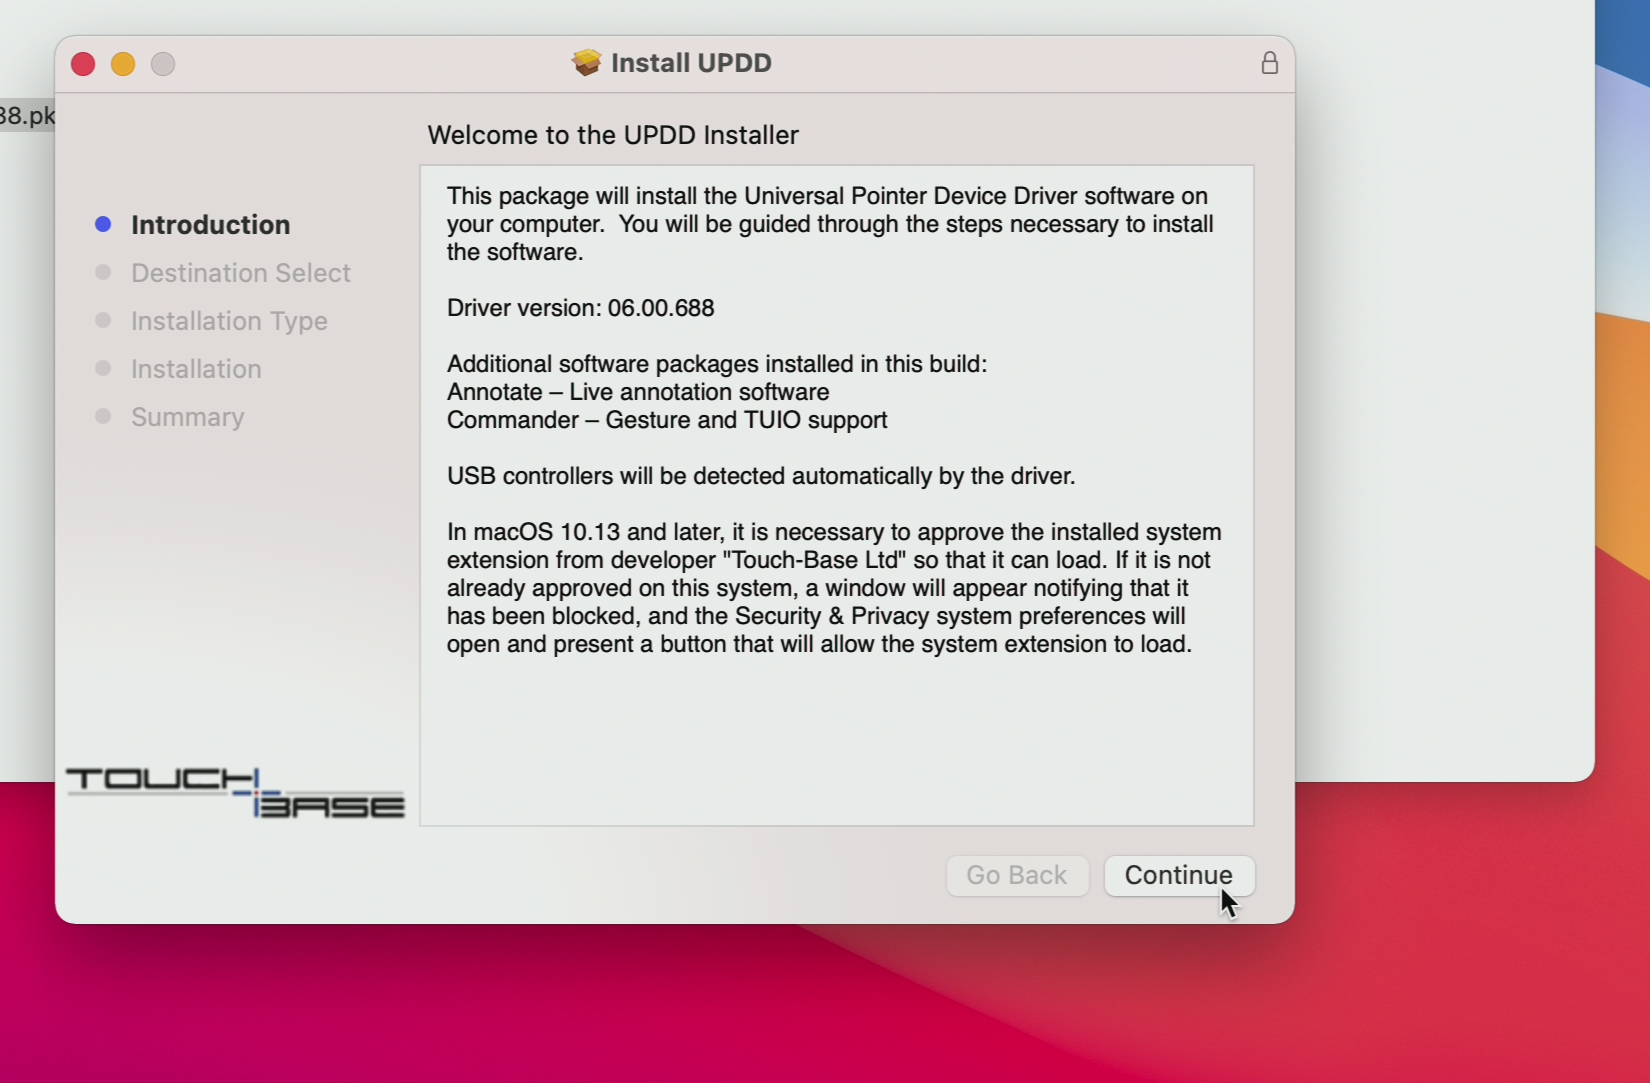
Double click on the UPDD_xx_xx_xxx.pkg to start the installation of the driver and application. Please read the introduction part and press Continue when are you ready to proceed.
-
If you do not have a specific reason to change the destination where the drives are installed, we recommend to keep it as default.
-
We recommend to keep the Installation Type as default. A default installation will ensure that drivers and application are working as expected. When ready press Install

-
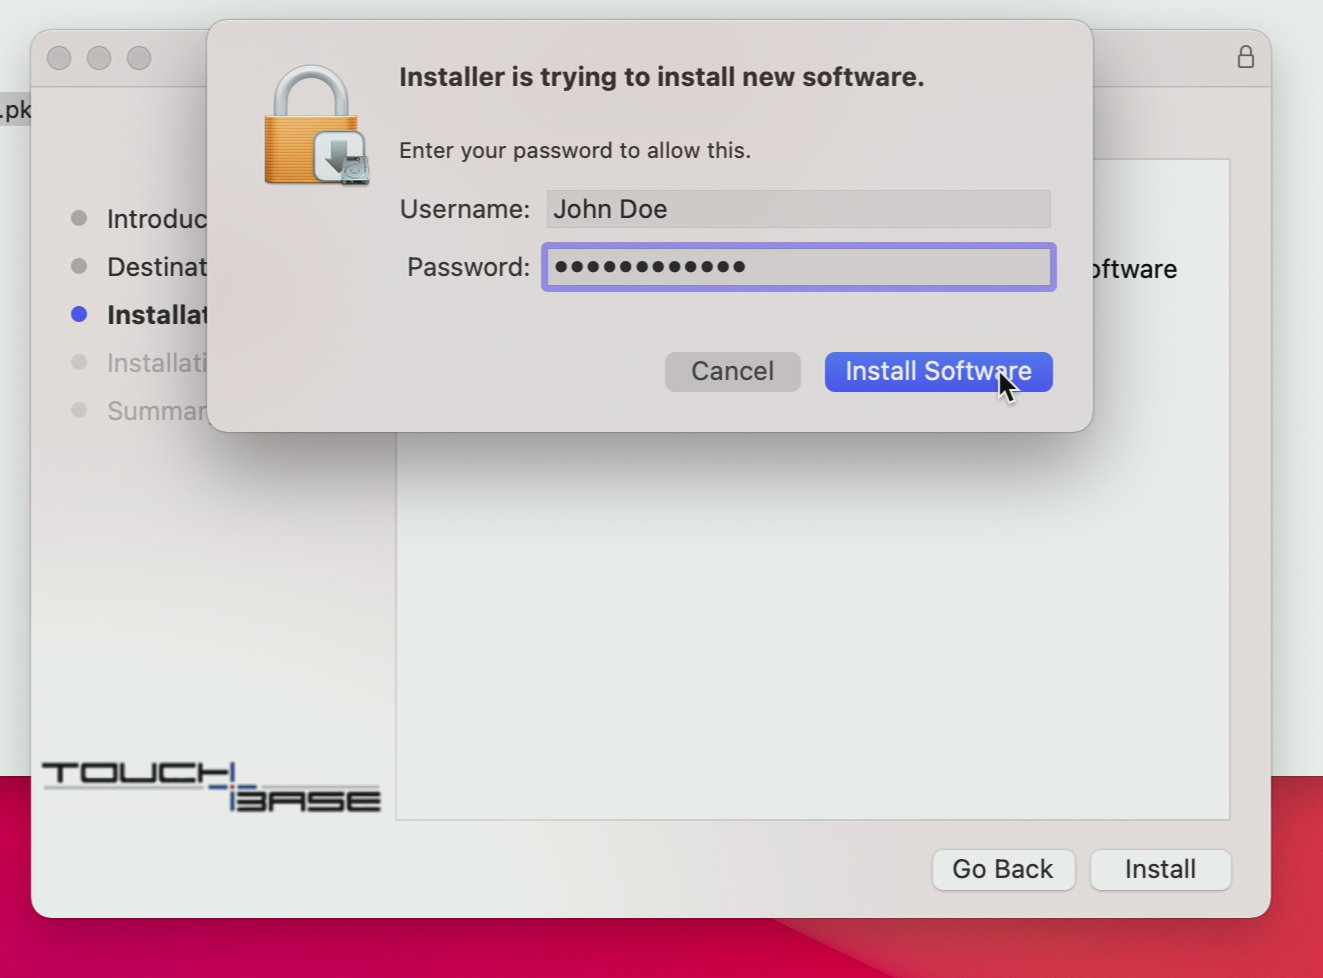
The installer will start the installation and it will require the admin account and password. In our installation the account belongs to "John Doe", but this will be different in your case. Make sure that you use the proper account (with administrator rights). Press Install Software to proceed.
-
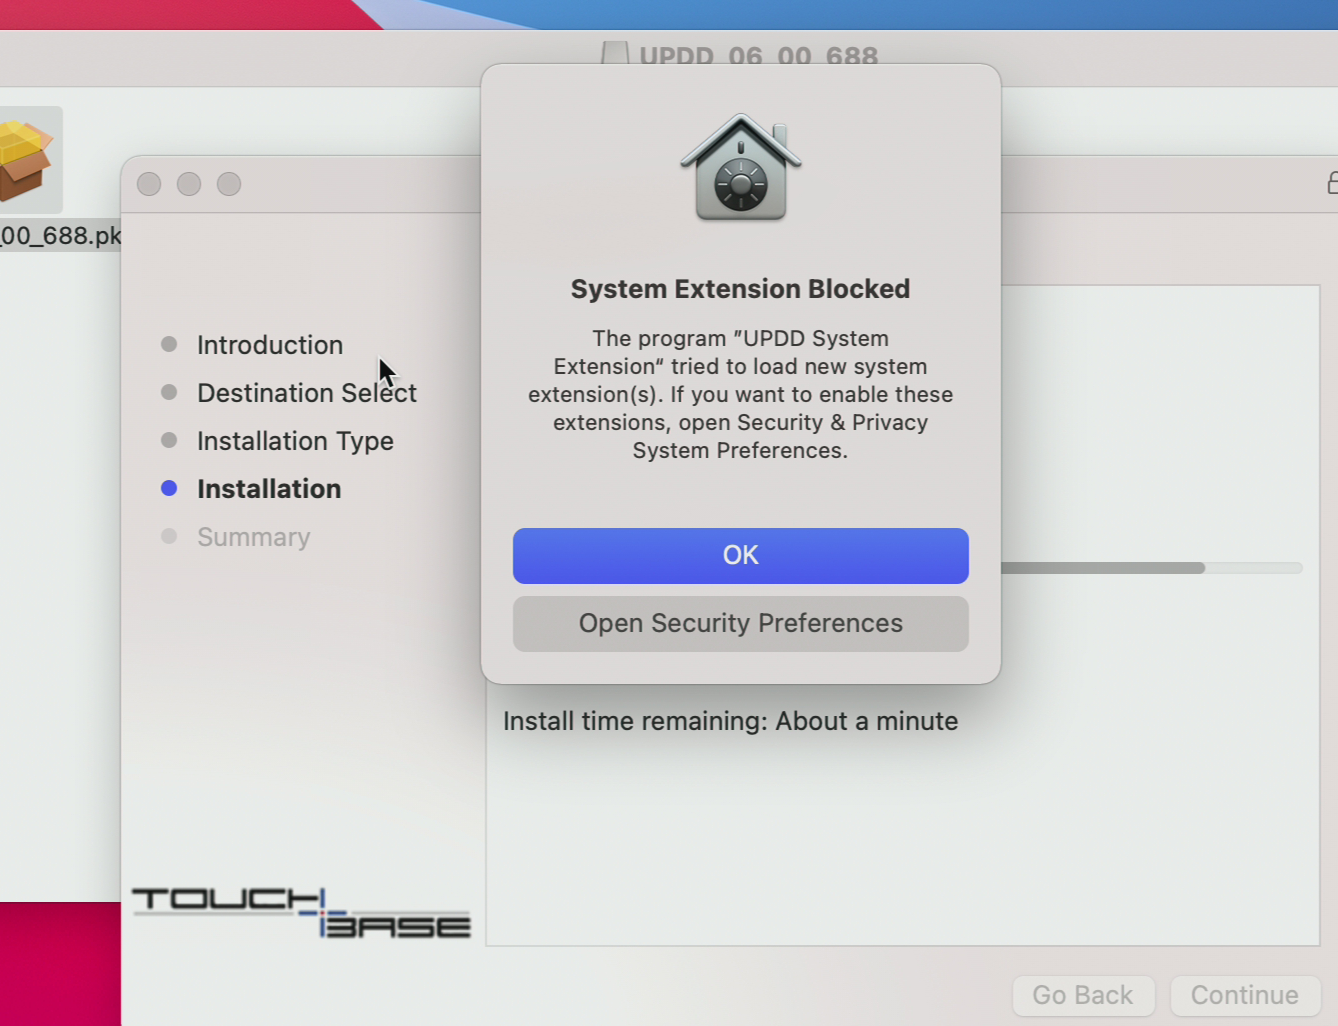
IMPORTANT Allowing the extensions is a mandatory step during the installation and required for proper functionality. Press Open Security Preferences. This will open the Security Settings.
-
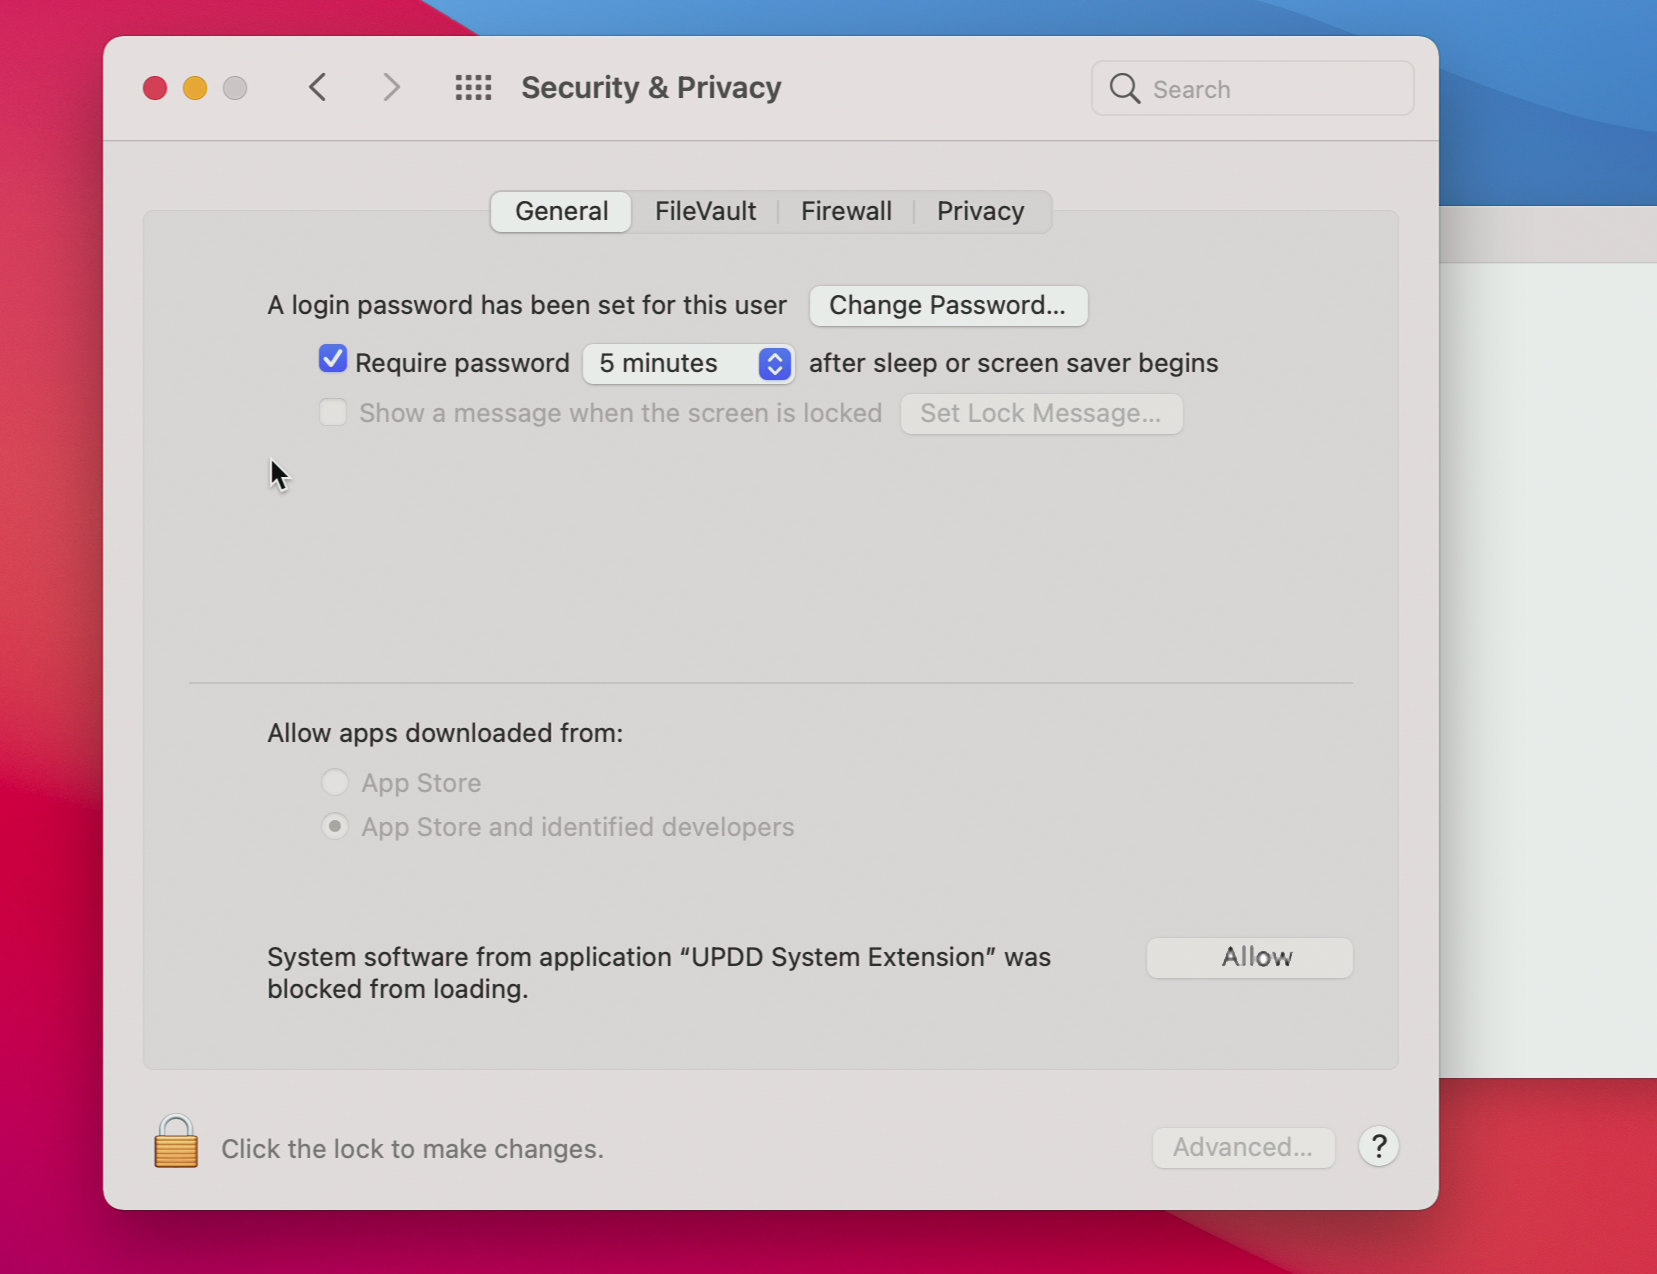
Press the Allow button to allow UPDD System Extensions to load and install all drivers.
-
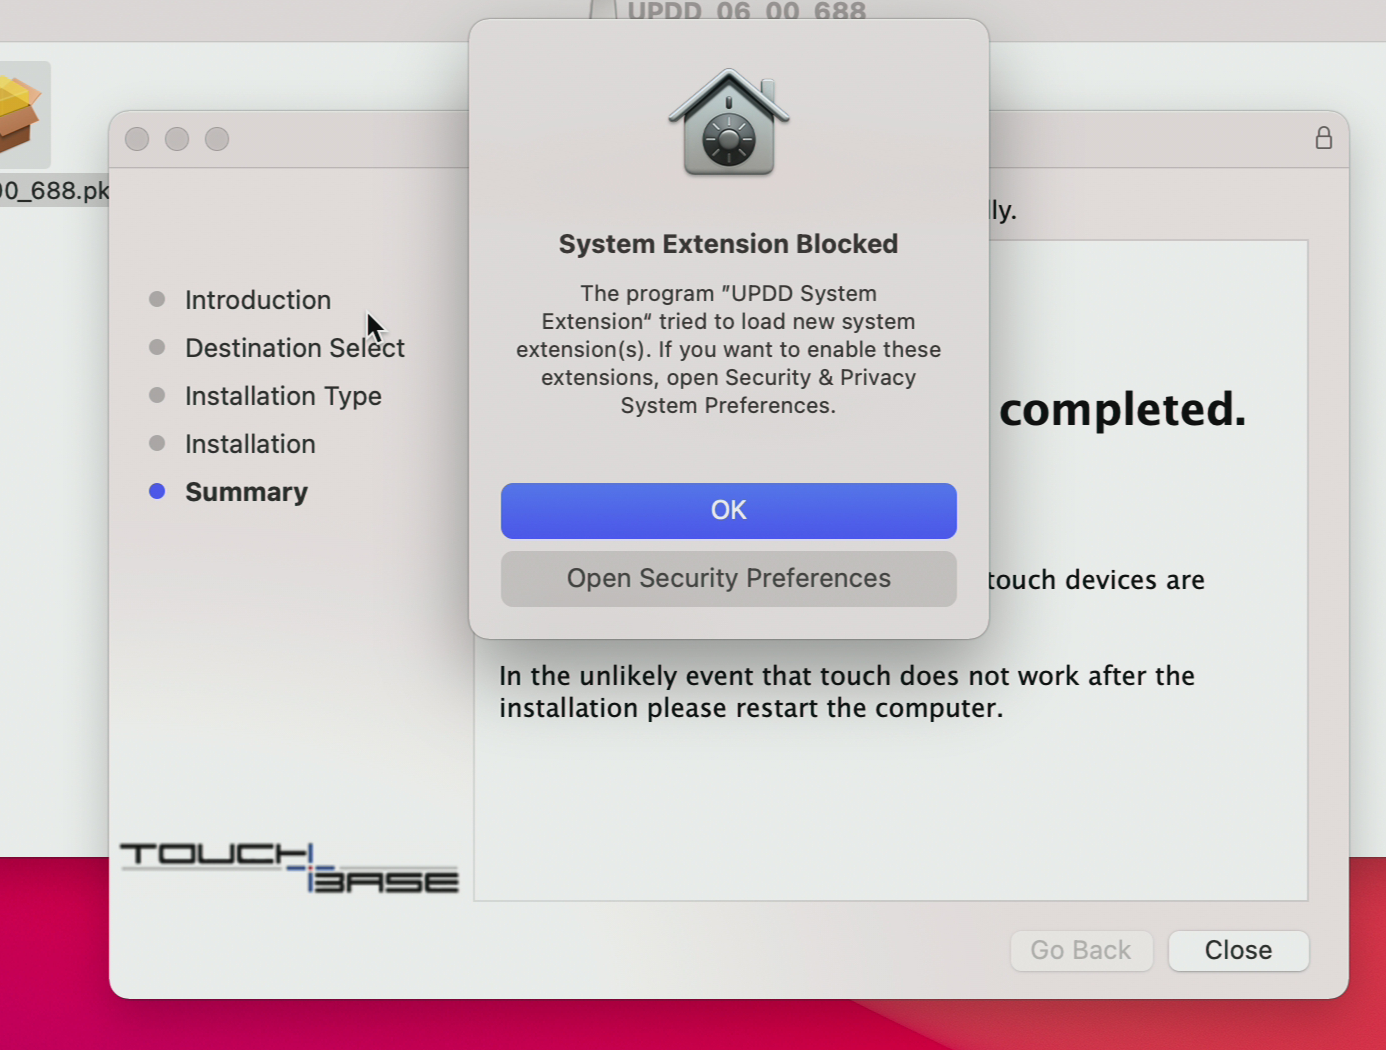
The System Extension Blocked windows will be closed automatically and finish the installation. Although the installation has finished press Open System System Preferences to grant the needed permissions.
-
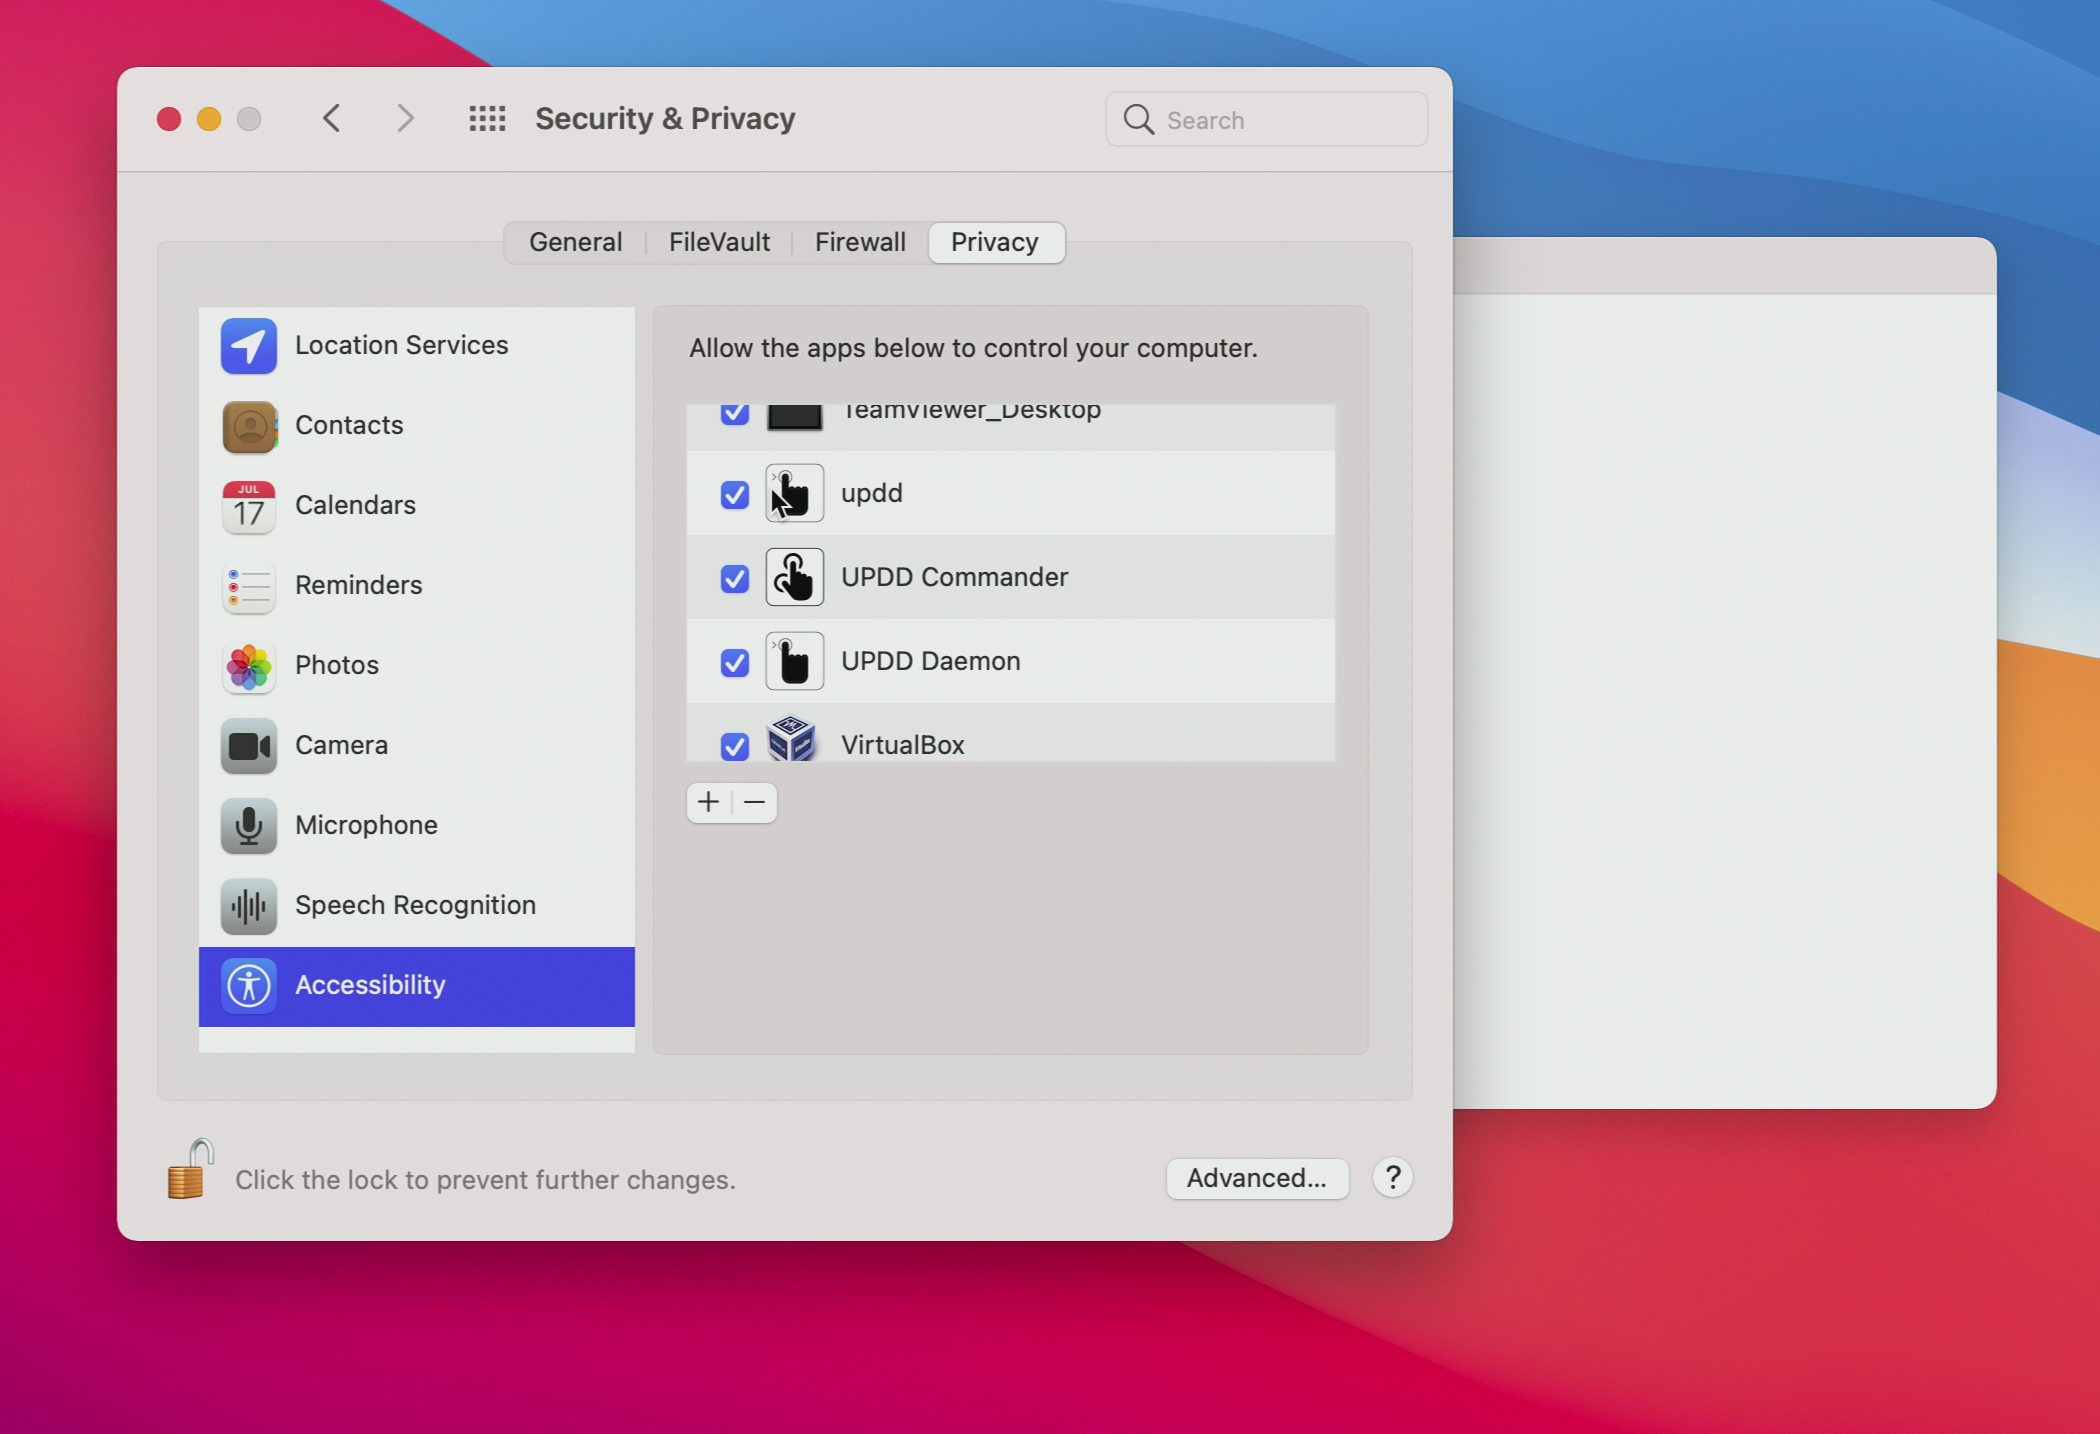
After opening the Security Preferences please select the Privacy tab. Click on the Lock button on the left bottom corner. Input the admin account and password that you used earlier. Now tick the three UPDD items (updd, Commander and Daemon). This action will allow the application to start with the Mac device and process the gestures correctly. Your setup should be 'checked' like in the picture below.
-
Finish the installation. The application will continue with the installation and register all the components for another 1-2 minutes. Please wait until the installation is completed.
-
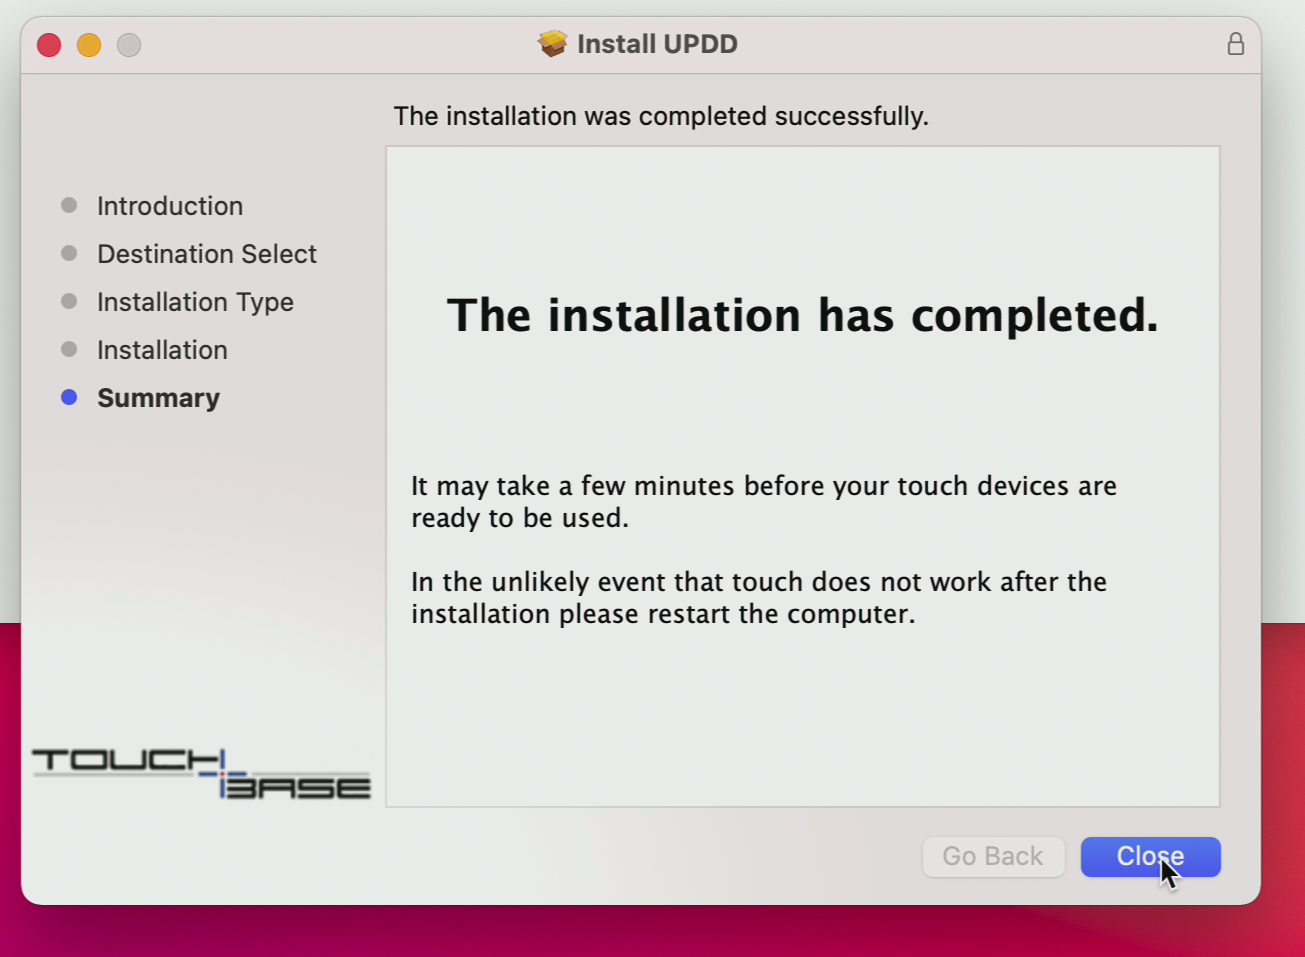
The installation of drivers and application is complete. Press Close button to close the installer and remove the installation package.
-
The installer package is no longer required, and you can safely remove it by pressing Move to Trash or deleted it manually later.
-
-
Restart the Mac device to enable and start the services. Press the Apple logo on the top left corner and press Restart. After the restart, you can proceed to Section 2.
Section 2: Enable touch functionality based on your setup
In this section, we will connect all devices and test the touch functionality.
Instructions
-
Connect the HDMI cable between the Mac device and i3CONNECT display. Switch the i3CONNECT display on that specific source. Based on default configuration, the displays will be mirrored (same image on both screens).
-
Connect the USB cable between the Mac device and i3CONNECT display. USB-B (picture bellow) should be connected to the corresponding TOUCH OUT port of the screen (some displays have multiple TOUCH OUT ports).

-
Your Mac device will show the notification "UPDD device connected". The message indicates that i3CONNECT capabilities have been detected and enabled.
If you haven't seen any message or there is no touch feedback from i3CONNECT display check the USB cable and ensure all permissions are granted as described in step 7.
Congrats! You are ready to go. If you have any kind of problems or questions contact us at https://support.i3-connect.com/