Two approaches
-
No cable connection available
What do you need:
-
Active Wi-Fi connection
-
Notebook with Ethernet port and Wi-Fi
-
Lan cable
-
-
No cable or Wi-Fi available
What do you need
-
Android smartphone mobile internet
-
Notebook with Ethernet port
-
Lan cable
-
Cable from smartphone to USB
-
Instructions: No cable connection available
-
Connect your notebook to an active Wi-Fi connection
-
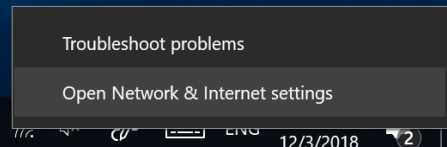
Right click the internet icon and select “Open network & internet settings”

-
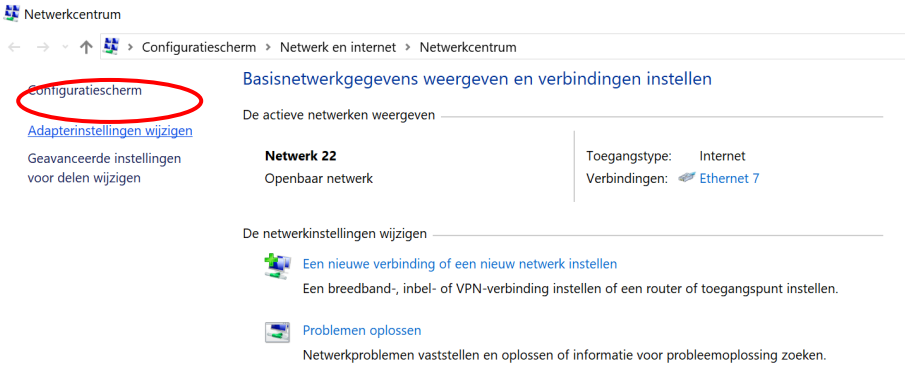
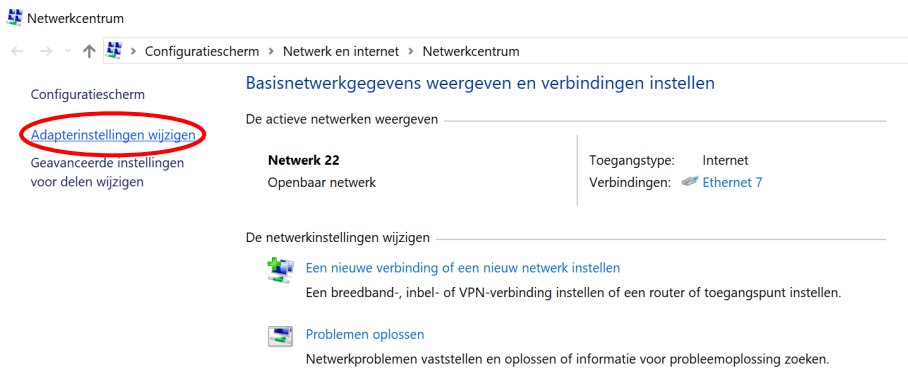
In the new windows select “Network and sharing center”

-
On the left side you can pick “ Change adapter settings”
-
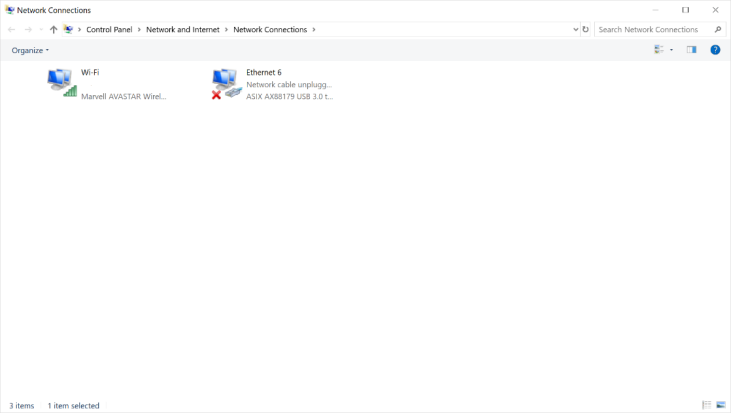
Now you should see 2 connections.
-
One is your current and active Wi-Fi connection.
-
The other is your cable port.
-
If you have multiple adapters and you are not sure which is your cable port. Insert a cable. The network adapter will change its status and now you know which adapter is your cable port. Unplug the cable after checking.
-
-
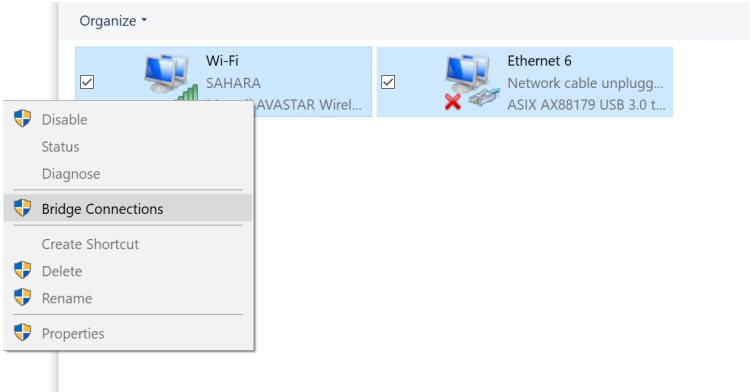
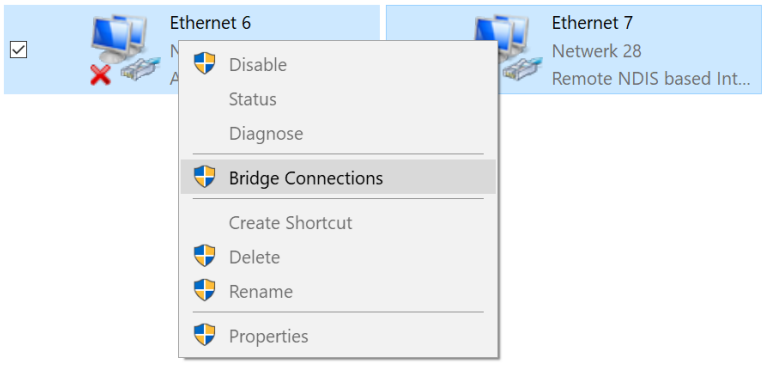
Now select both connections. And right click on your Wi-Fi connection.
-
Now choose “Bridge connections”
-
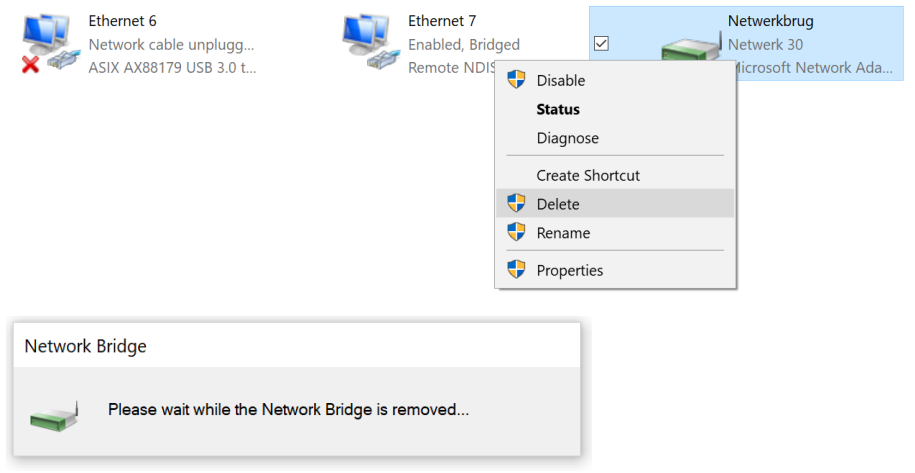
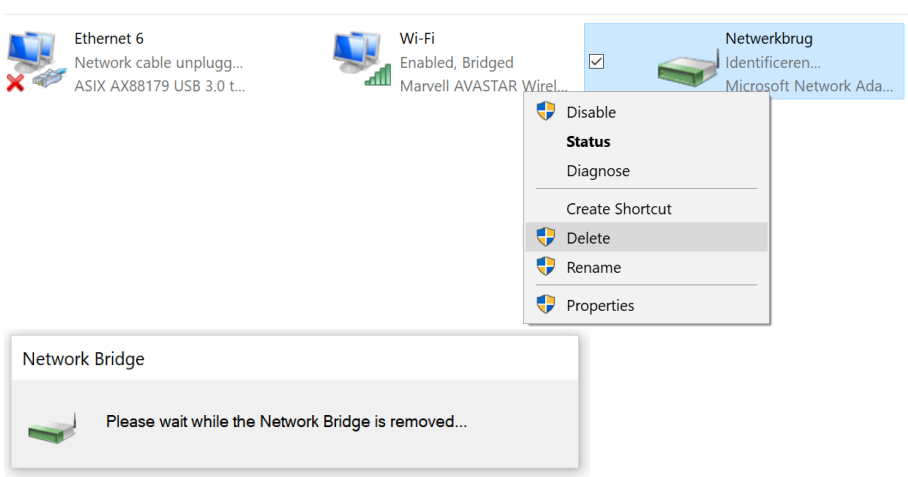
Windows now creates the network bridge.

-
When the bridge is created you can connect a LAN cable between the notebook and the i3CONNECT screen. The notebook will now share it’s Wi-Fi connection to the screen.

-
When you are done using the connection you can delete the bridge to restore normal functioning of the laptop.
Instructions: No cable or Wi-Fi available
-
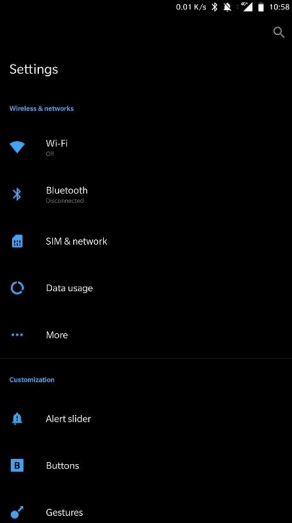
Go to the settings app on your Android smartphone and choose “More”.
-
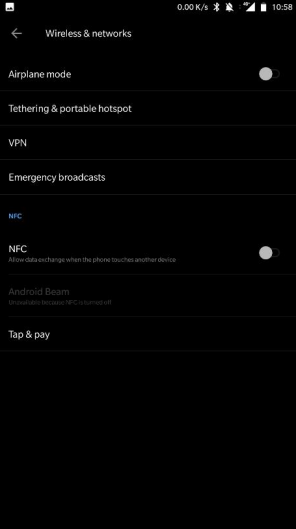
Now choose “Tethering & portable hotspot”.
-
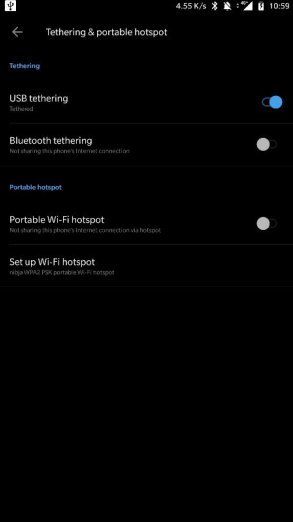
Now connect your smartphone to your windows laptop through USB.
-
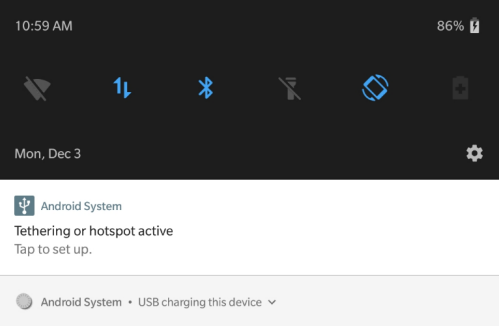
Enable “USB tethering”
-
Your smartphone will now show that it’s sharing your connection.
-
On the computer. Right click the internet icon and select “Open network & internet settings”
-
In the new windows select “Network and sharing center”

-
On the left side you can pick “ Change adapter settings”
-
Now you should see 2 connections.
-
One is your connected phone connection (Named Remote NDIS).
-
The other is your cable port.
-
If you have multiple adapters and you are not sure which is your cable port. Insert a cable. The network adapter will change its status and now you know which adapter is your cable port. Unplug the cable after checking.

-
-
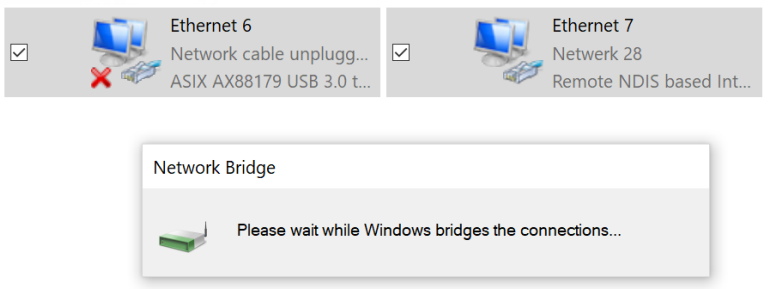
Now select both connections. And right click on your phone connection.
-
Now choose “Bridge connections”
-
Windows now creates the network bridge.
-
When the bridge is created you can connect a LAN cable between the notebook and the i3CONNECT screen. The notebook will now share it’s connection to the screen.
-
When you are done using the connection you can delete the bridge to restore normal functioning of the laptop.