
📘 Instructions
-
Unzip the package, and find the 3 binary files.
-
Copy the 3 binary files, to an empty USB drive (FAT32), in the root directory.
- mboot.bin
- MstarUpgrade_848.bin
- rom_emmc_boot.bin -
Insert the USB drive into USB 2.0 port of the display. (bottom USB port).
-
Make sure the display is switched OFF with the button next to the power cord.
-
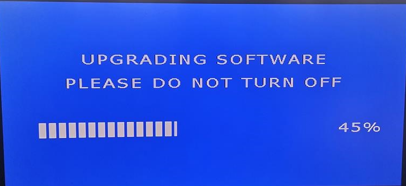
Switch ON the display with the button next to the powercord and press and hold the ON/OFF button until you see the upgrade process screen.
-
After the FW installed succesfully, remove the USB drive and perform a factory reset.
Do not interrupt the firmware upgrade process in any way:
-
Do not touch the i3TOUCH display (due to potential touch recalibration)
-
Do not disconnect the i3TOUCH from power.
-
Do not pull out the USB drive
Files
Choose the correct size of you display. Find out by reading the serial number. For example i3TPX75XXXXXXX is 75 inch.
check you serialnumber before you upgrade.
serialnumber i3TPX##0A00001 - i3TPX##0A33999 use systemFW 3.0.13
serialnumber i3TPX##0A34001 or higher use systemFW 3.0.15
|
|
systemFW 3.0.3 [feb 2022] |
systemFW 3.0.11 [aug 2022] |
systemFW 3.0.13 [ Feb 2023] serialnumber i3TPX##0A00001 - i3TPX##0A33999 |
systemFW 3.0.15 [2023] serialnumber i3TPX##0A34001 or higher |
|---|---|---|---|---|
|
55inch |
n/a |
|||
|
65inch |
n/a |
|||
|
75inch |
n/a |
|||
|
86inch |