
If you need to check whether the touch function on your i3TOUCH Ultra is working correctly, follow these steps. This guide is for technical specialists or support staff troubleshooting touch issues. Do not use this procedure if you are not comfortable accessing the debug menu or if your device is under warranty and you suspect hardware failure, contact i3CONNECT support instead.
By the end of these instructions, you will have tested the touch panel and can share the results with the i3CONNECT service team. If the touch does not work after following these steps, or you cannot return touch to normal operation, contact support.
Before you start
-
You’ll need: USB touch cable, HDMI cable, remote controller, Windows laptop, and the touch test tool (download link below).
-
Ensure you have permission to access the debug menu.
-
Save your work—touch will be temporarily disabled during the test.
Instructions
-
Open the debug menu: On the remote, press Input, then 1, 3, 7, 9. Navigate to Machine Setting and set Touch source switch to Out.
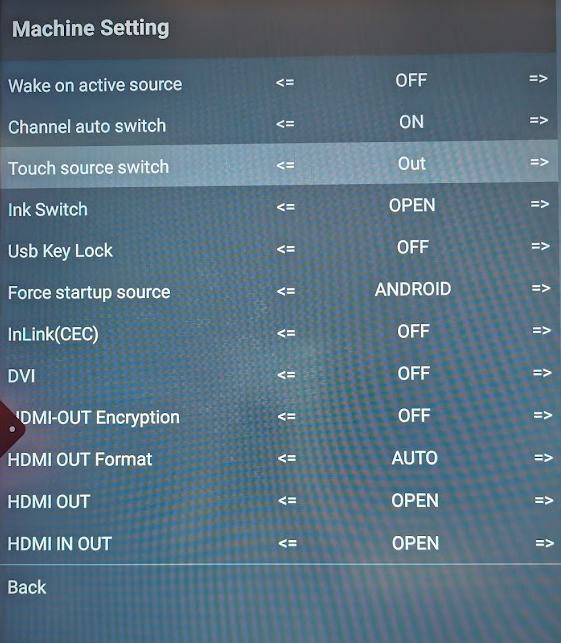
No touch will be available on the display after changing the touch source switch to Out.
-
Connect your laptop to the Ultra display: Plug the USB touch cable into Touch 2 and the HDMI cable into HDMI 2 or HDMI 3.
-
Download the touch test tool and firmware: Download here.
-
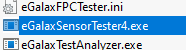
Open eGalaxSensorTester4.exe on your laptop and press Start test.
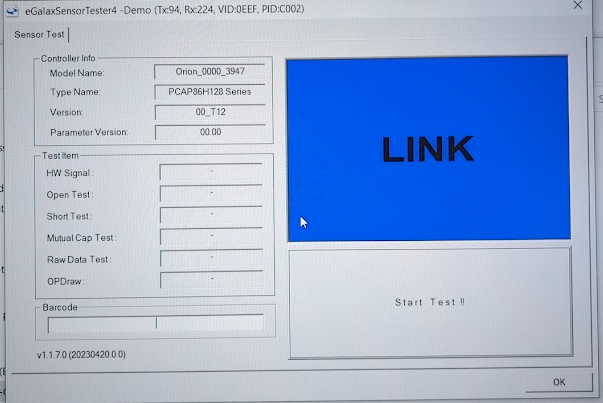
Do not touch the screen until the test is finished.
-
When the test is complete, use the remote to set the Touch source switch back to Android to reactivate touch on your display.
-
Take a picture of the test results and forward it to the i3CONNECT service department.
Troubleshooting
-
If touch does not return after switching back to Android, restart the display and check all cable connections.
-
If the test tool does not detect the panel, verify the USB and HDMI cables are securely connected.
-
If you cannot access the debug menu, contact i3CONNECT support.
-
For persistent issues or hardware faults, do not proceed, contact i3CONNECT service.