
Annotating is done over an app is and it is different from annotating within an app e.g. into a PowerPoint or PDF. For this reference the app’s own annotation tools. Read more here:
Start annotating over anything with i3ANNOTATE
Main menu (top left)
Like i3WHITEBOARD, you’ll find the main menu at the top left of the screen but with far less options:
-
Name. This allows you to rename the whiteboard.
-
Open in i3WHITEBOARD. This button takes a screenshot of your current annotations with all of the content below. It then sends this screenshot to the whiteboard.
Note: Once the annotations are saved and sent to i3WHITEBOARD, the annotations are lost. -
Exit. This exits the annotation tool so you can continue using the apps below.
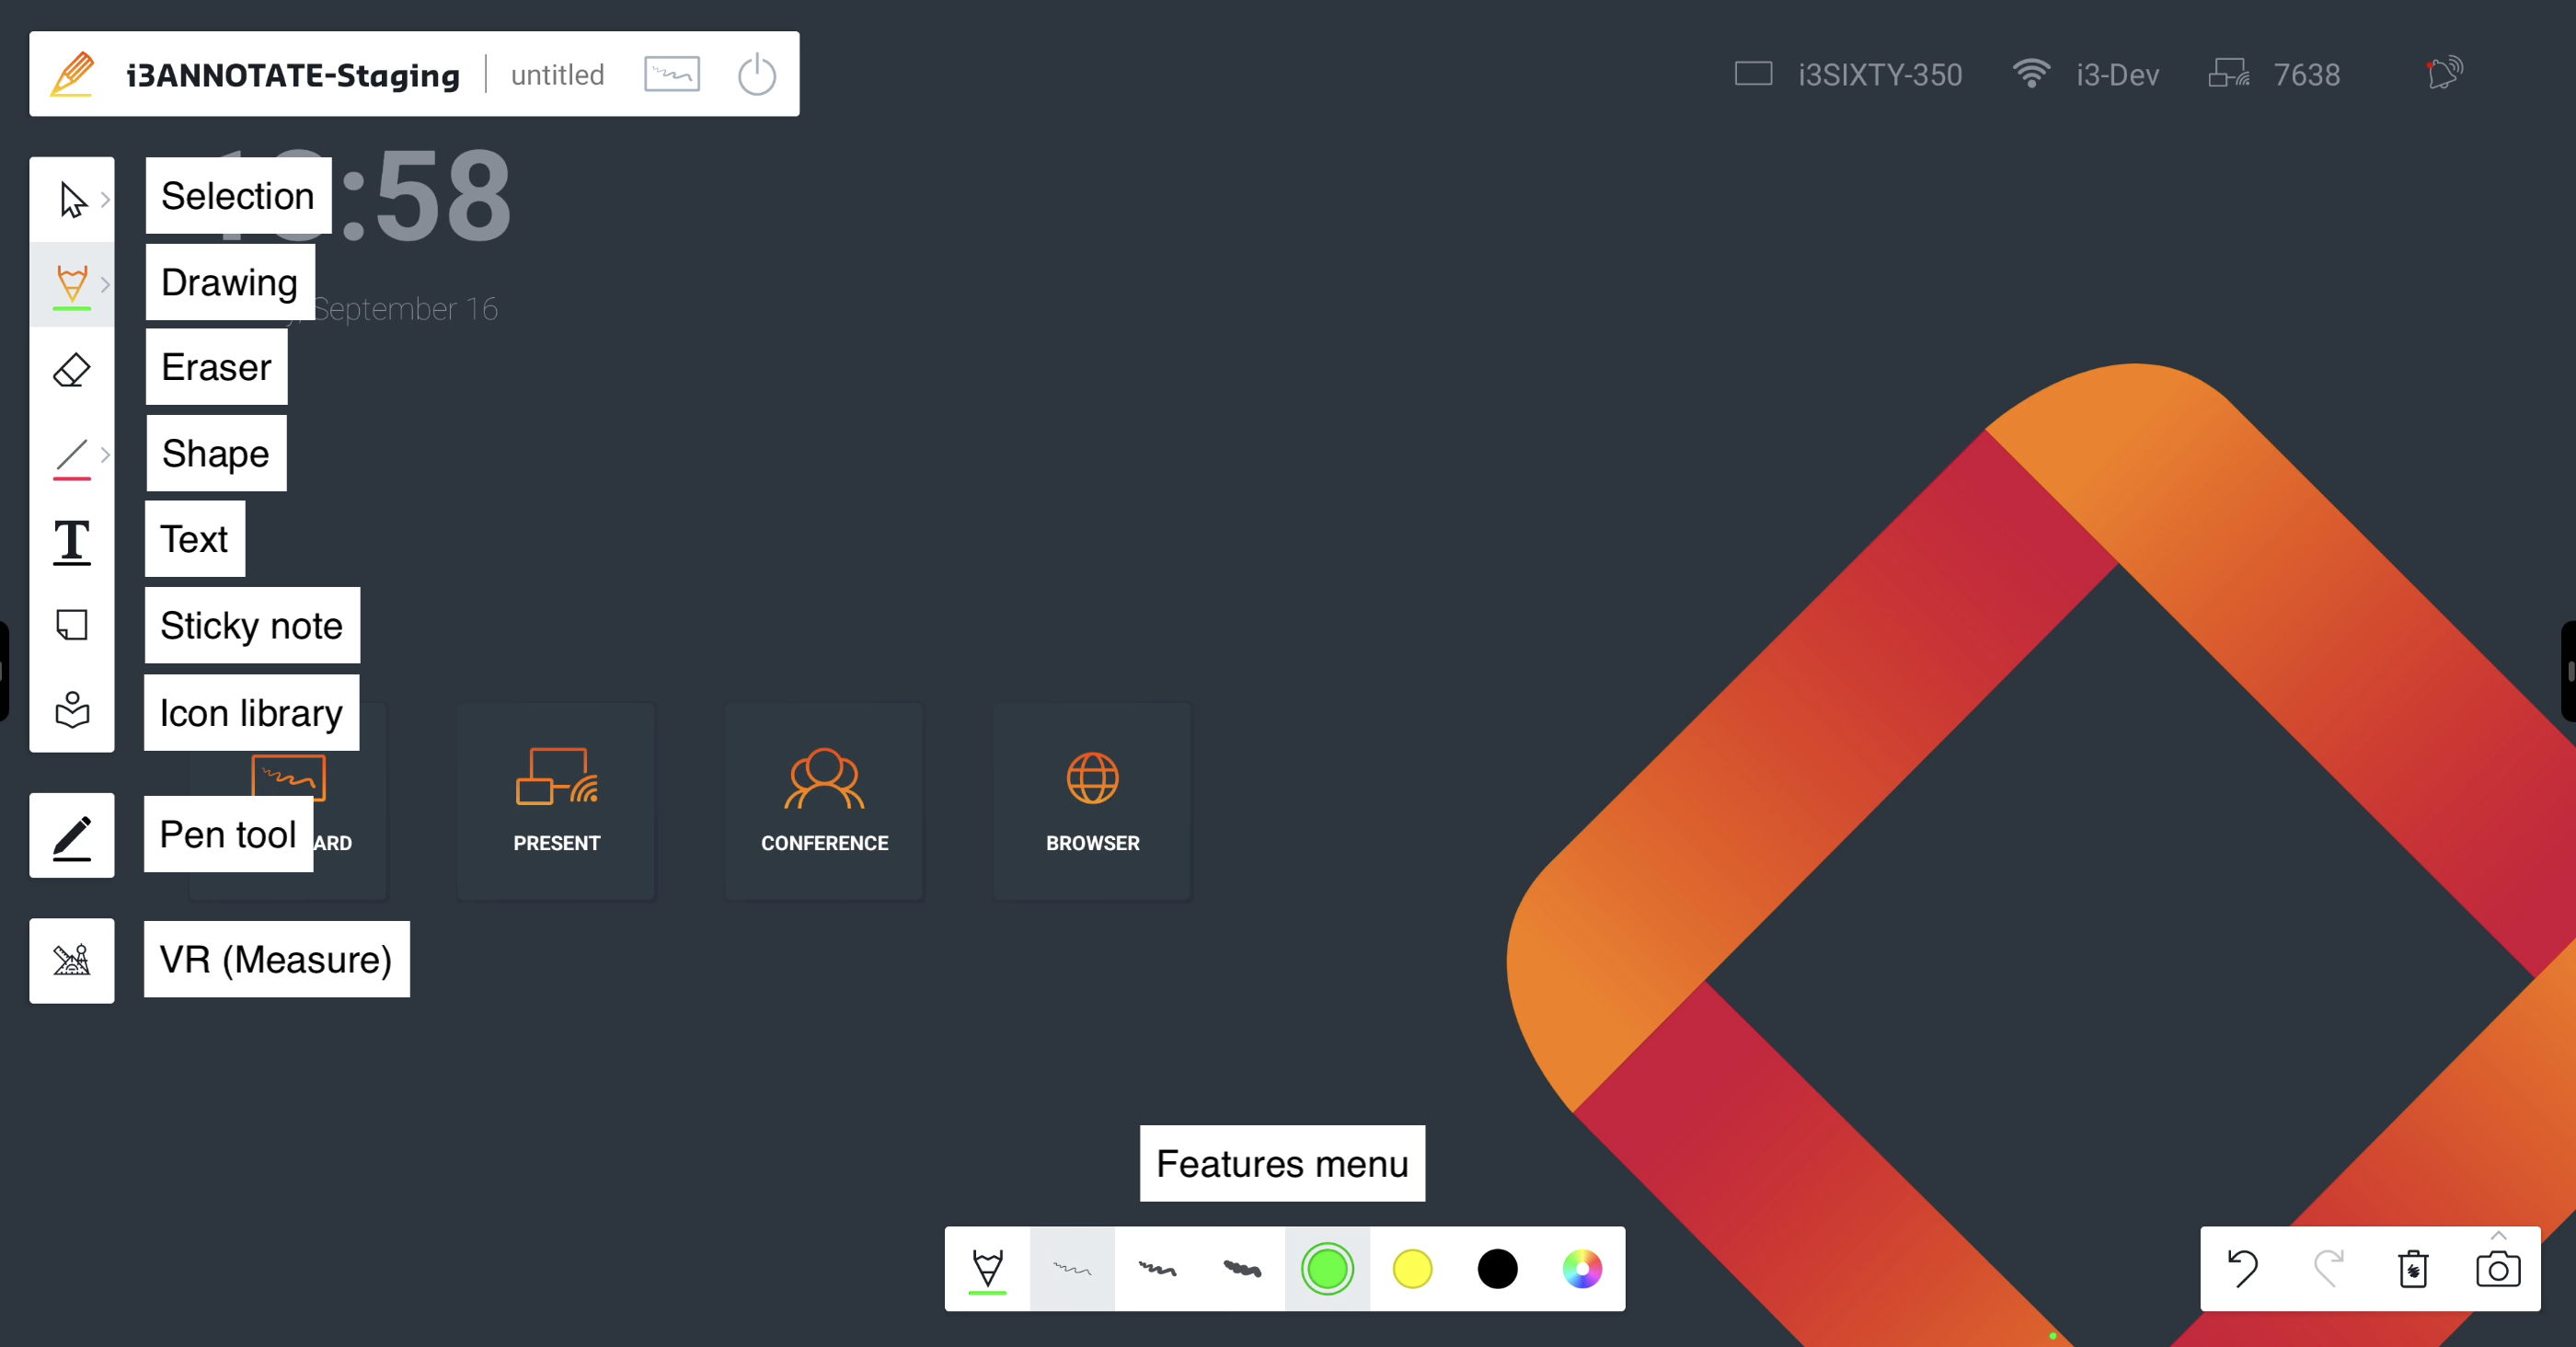
Tool menu (left)
Below the Main menu, you find the Tool menu. It includes:
Features menu (bottom)
This menu is a subset of the Tool menu as its features are dependent on the tool you’ve selected. It allows you to set/ change line thickness and color but also duplicate or delete specific objects that you placed on the canvas.
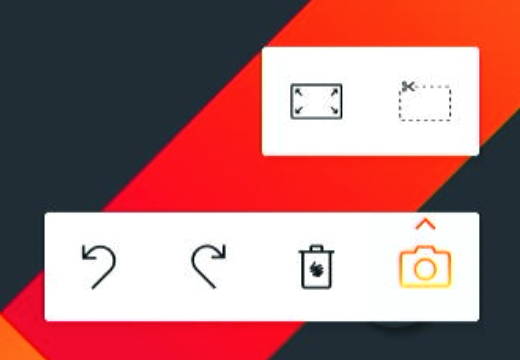
Screenshot menu (bottom right)
This menu can be found at the bottom right of the screen whilst the annotation tool is active.
-
Undo: this will undo any previous action since you started working on the document
-
Redo: if you decide that you still want that action you’ve undone, you can click the redo button
-
Delete all: this will delete all objects on the active page
-
Take a screenshot
-
Fullscreen capture
-
Select an area to capture
-
Learn more about this screenshots here:
Save, share, undo and redo annotations in i3ANNOTATE
-

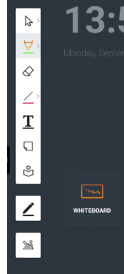
Hide or minimise the menus
You can collapse most menus by pressing the i3ANNOTATE logo (that looks like a pen) in the top left corner of your display. When collapsed, only the logo will remain.
Press it again to open the menus.
