
Need to check if your i3CONNECT ASPEN4 touch is working as it should? This guide walks you through running a touch test using the official tools. Use this when you’re troubleshooting touch issues or need to provide test results to support. This article is for IT admins, installers, or anyone asked by support to verify touch functionality on an i3CONNECT ASPEN4
Please make a picture/video of the test result and send it to i3CONNECT support.
Before you start
-
You’ll need a Windows PC with HDMI and USB-A ports.
-
Have your i3CONNECT ASPEN4 serial number handy (to pick the right tool).
-
Download the correct tool from the links below.
-
If your serial number contains “55, 65, 75, and 86” (e.g., I3T065A4L507A0057),
download TimelinkSignalTools-v11181.zip -
If your serial number contains “98” (e.g., I3T098A4L507A0057),
download TimelinkSignalTools-v11157.zip
-
|
55”, 65”, 75”, 86” |
98” |
|---|---|
Instructions
-
Connect your Windows PC using both HDMI and USB-A to USB-B cables.
-
Switch to the correct HDMI input so your PC’s screen is visible.
-
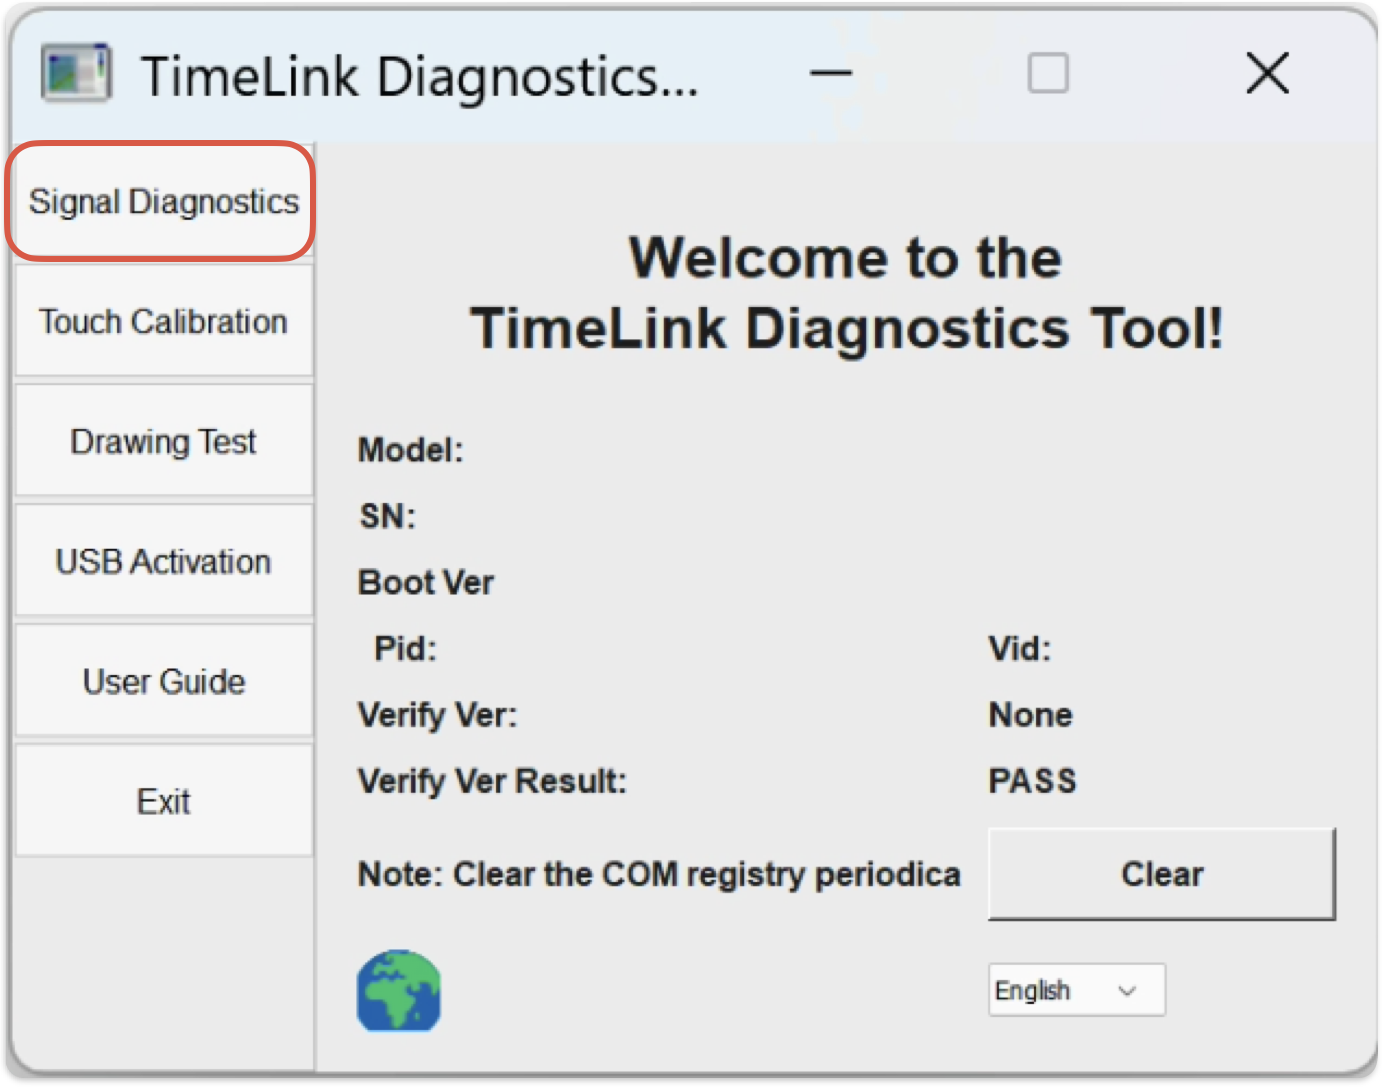
Run the downloaded tool named [A4]TimeLinkSignalTool_V.. on your PC.
-
Click the button with the name Signal Diagnostics in the tool. The touch test will start automatically.
-
Take a screenshot, picture, or video of the test result.
If no issues are found, an automatic timer will count down.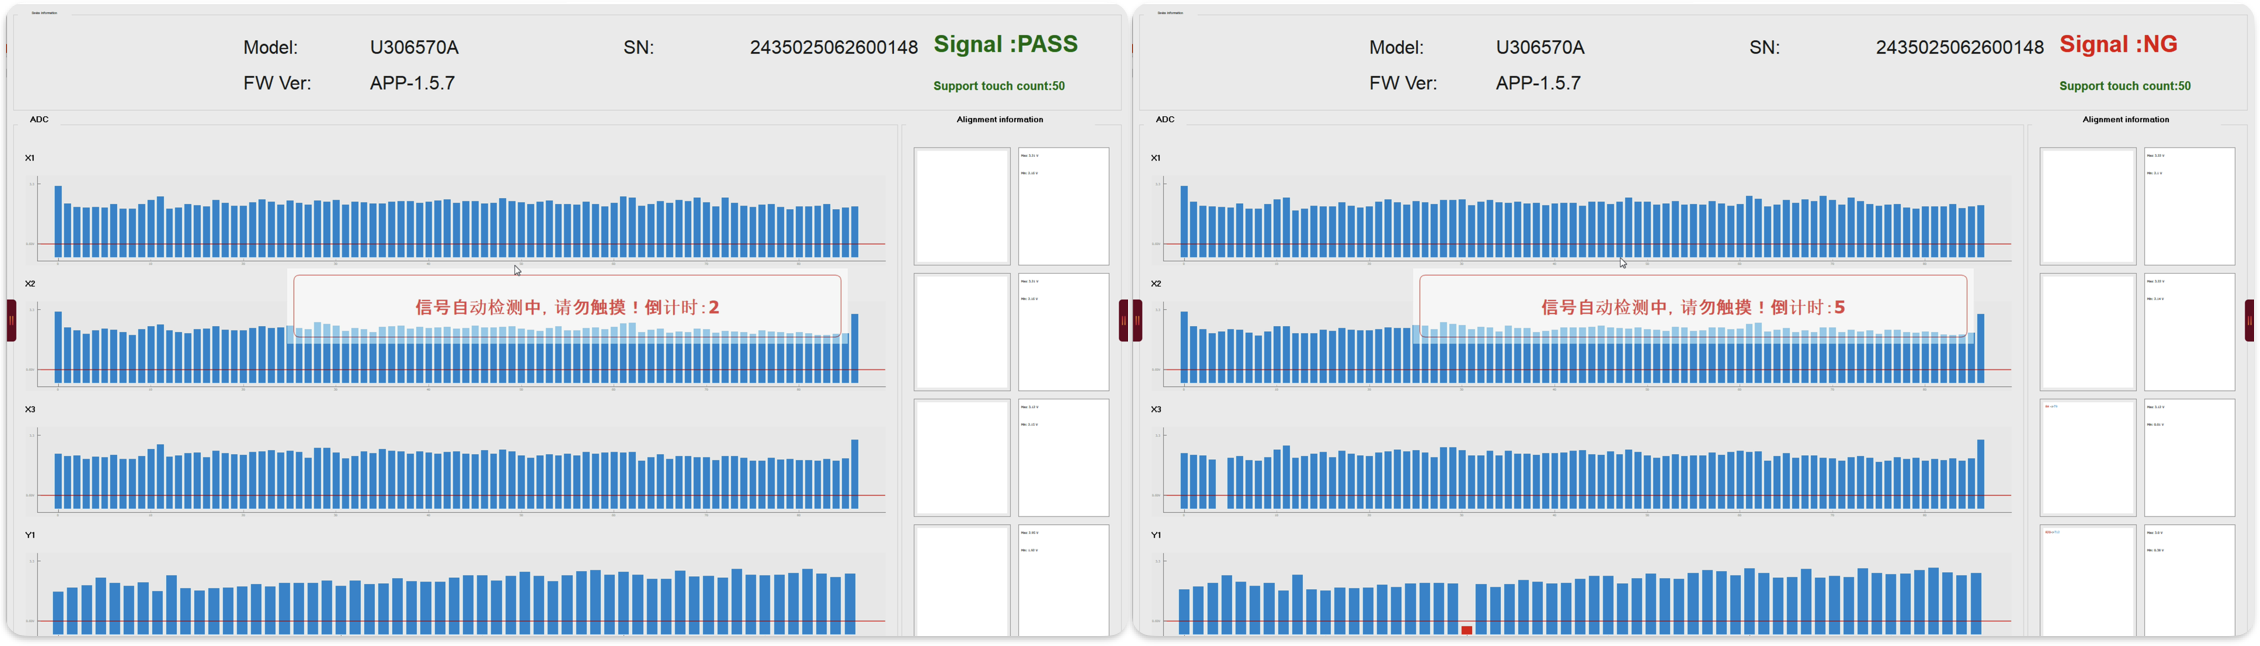
-
Send the result to i3CONNECT support for analysis: https://support.i3-connect.com/
Troubleshooting
-
If the tool doesn’t start, double-check that you’ve downloaded the correct version for your serial number.
-
If your PC doesn’t detect the display, ensure both HDMI and USB cables are securely connected and that the correct input is selected.
-
If you can’t capture a result, try restarting both the PC and the display.
-
For persistent issues, contact i3CONNECT support and include your serial number and a description of the problem.